
Introduction to Easy Crisp Pickled Okra
As a passionate home cook, I’m always on the lookout for vibrant and flavorful ways to enjoy seasonal vegetables. That’s why I’m thrilled to share my recipe for Easy Crisp Pickled Okra. This delightful treat has become a staple in my kitchen, and I can’t get enough of its crunchy texture and tangy flavor. Whether you’re a seasoned canner or a beginner, this recipe is approachable and incredibly rewarding.
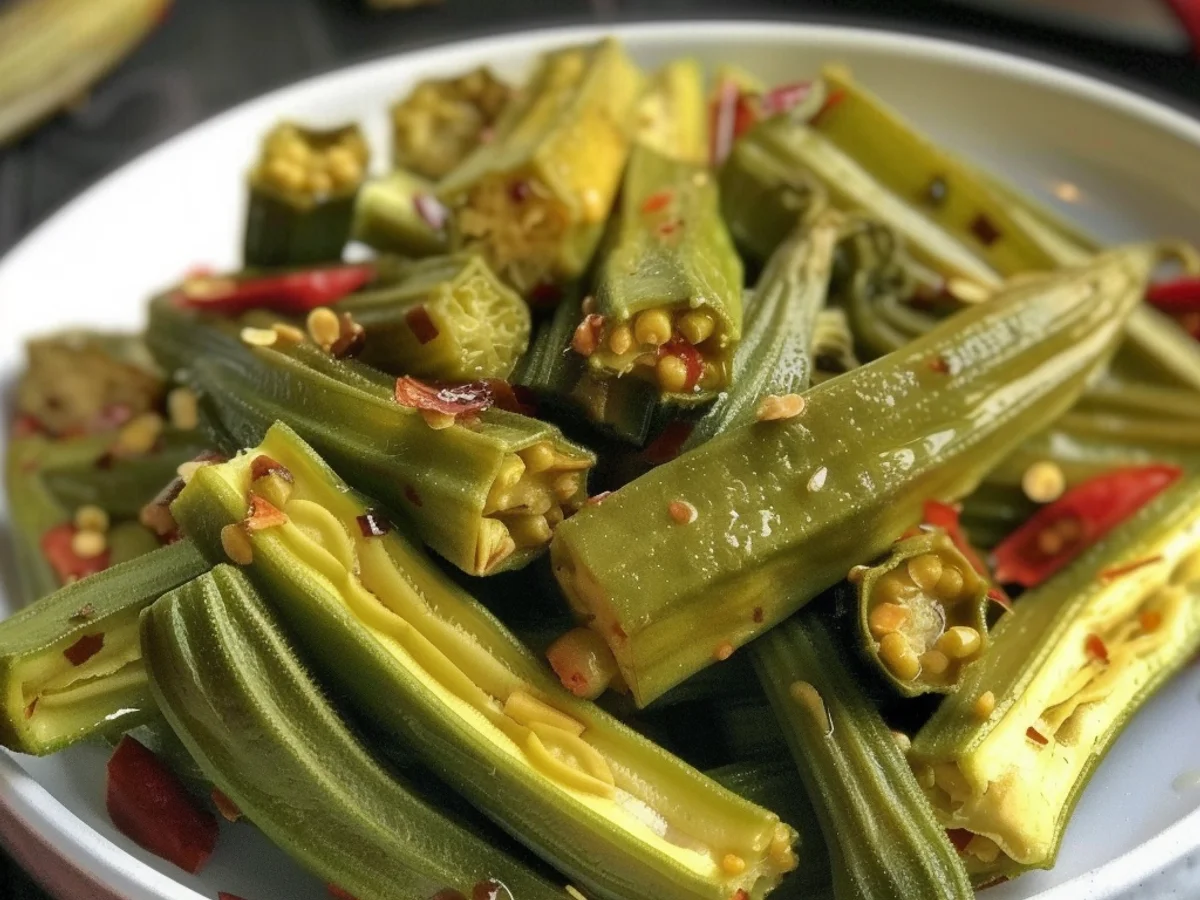
Imagine opening a jar of Easy Crisp Pickled Okra on a warm summer day, revealing bright green pods infused with spices and vinegar. The aroma alone is enough to make your mouth water. Not only is this pickled okra a fantastic snack, but it also elevates a variety of dishes, from salads to charcuterie boards. Plus, it’s a great way to preserve the bountiful harvest of fresh okra during peak season.
What I love most about this recipe is how simple it is. With just a handful of ingredients, you can create a crunchy, zesty addition to your meals that’s sure to impress family and friends. As you dive into the process, you’ll appreciate how easy it is to achieve that excellent balance of flavors. So, let’s get ready to dive into the world of pickling with my Easy Crisp Pickled Okra recipe!
Why You’ll Love This Easy Crisp Pickled Okra
Let me tell you why I absolutely adore this Easy Crisp Pickled Okra. First and foremost, it’s the excellent way to elevate your meals without spending hours in the kitchen. With just a handful of ingredients and a little bit of time, you can create a delightful condiment that packs a punch of flavor. The crunchiness of the okra combined with the tangy brine is truly addictive!
One of the best things about this recipe is its versatility. Whether you’re looking to add a zing to your salads, serve it alongside charcuterie boards, or just snack on it straight from the jar, this Easy Crisp Pickled Okra fits the bill perfectly. I’ve even used it as a unique garnish for cocktails, and my friends can’t get enough of it! It’s a conversation starter at gatherings, and I love seeing the surprised looks on guests’ faces when they try it for the first time.
Moreover, this recipe is incredibly forgiving and quick. In just a matter of minutes, you can prepare the ingredients, and the best part? You only need to let them sit for a couple of days to develop that vibrant flavor. As a busy home cook, I appreciate any recipe that allows me to prep ahead and enjoy later. You can easily make a large batch and store it in the fridge, making it a fantastic option for meal prep.
And let’s not forget about the health benefits! Okra is packed with nutrients, and pickling it enhances its shelf life while adding a delightful twist. This Easy Crisp Pickled Okra is not just nice for your taste buds; it’s also a smart addition to a health-conscious diet. So, if you’re looking for a quick, tasty, and nutritious treat, I can’t recommend this recipe enough. You’ll find yourself reaching for that jar again and again!
Ingredients for Easy Crisp Pickled Okra
When I set out to make my Easy Crisp Pickled Okra, I always gather fresh, vibrant ingredients that embody the essence of this delightful dish. Each component plays a crucial role in achieving that excellent balance of flavor and crunch. Let’s dive into what you’ll need!
- Fresh Okra: The star of the show! Look for firm, bright green pods that are small to medium in size. These will yield the crispiest results, making your Easy Crisp Pickled Okra truly irresistible.
- White Vinegar: This ingredient adds the tangy backbone to the pickling process. While I prefer white vinegar for its clean flavor, feel free to experiment with apple cider vinegar for a slightly fruity note.
- Water: A simple ingredient, but essential for balancing the acidity of the vinegar. Using filtered water can enhance the overall taste of your Easy Crisp Pickled Okra.
- Sugar: Just a touch of sugar helps to mellow the sharpness of the vinegar and brings out the natural sweetness of the okra.
- Salt: Opt for kosher salt, as it dissolves well and enhances the flavor of your pickled okra. It also helps keep the okra crisp during the pickling process.
- Garlic: Fresh garlic cloves infuse a rich, aromatic flavor. You can slice or crush them, depending on how garlicky you want your pickles to be.
- Dill: Fresh dill sprigs or dill seeds add a bright, herbal note that pairs beautifully with the okra. This ingredient is essential for achieving that classic pickled flavor.
- Red Pepper Flakes: If you’re looking for a little heat, red pepper flakes are a fantastic addition. Sprinkle them in to add a spicy kick to your Easy Crisp Pickled Okra.
These ingredients work harmoniously together, creating a delightful blend of flavors that will elevate any meal. Once you’ve gathered everything, you’re just a few steps away from enjoying your homemade pickled okra. Let’s move on to the next exciting part-how to make this simple yet tasty recipe!
How to Make Easy Crisp Pickled Okra
- Prepare the Okra
First, I start by selecting fresh, vibrant okra pods. Their bright green color indicates freshness. Rinse them thoroughly under cold water and pat them dry with a clean towel. Next, trim the stems, leaving about a quarter inch to ensure they remain crisp during pickling. This simple step is crucial for achieving that delightful crunch in my Easy Crisp Pickled Okra. - Make the Brine
In a medium saucepan, I combine equal parts white vinegar and water, usually about two cups each. To this mixture, I add salt-around one tablespoon-along with a tablespoon of sugar. The sugar balances the acidity of the vinegar perfectly. Then, I toss in some spices, such as mustard seeds, dill seeds, and red pepper flakes. As I heat the mixture over medium heat, the aromas of the spices begin to fill my kitchen, setting the stage for the flavor-packed pickles to come. - Pack the Jars
While the brine is heating, I start packing the okra into clean, sterilized jars. I like to add a few cloves of garlic and fresh dill sprigs between the layers of okra for an extra burst of flavor. This not only looks beautiful but also enhances the overall taste of my Easy Crisp Pickled Okra. I make sure to leave about half an inch of space at the top of the jars. - Pour in the Brine
Once the brine has come to a gentle boil, I carefully pour it over the packed okra in the jars, ensuring that the pods are completely submerged. I also use a clean utensil to remove any air bubbles trapped inside. It’s important to cover the okra well with the brine to prevent spoilage. The vibrant colors of the okra against the clear brine create a stunning visual! - Seal and Cool
After filling the jars, I place the lids on tightly, allowing the jars to cool to room temperature. This step is essential because it helps the flavors meld together beautifully. Once cool, I transfer the jars to the refrigerator. My Easy Crisp Pickled Okra will need at least 24 hours to pickle, but I often find that the flavors deepen after a few days. - Enjoy!
After waiting patiently, I finally get to enjoy my homemade Easy Crisp Pickled Okra! These pickles are excellent as a snack, a side dish, or even as a tangy addition to salads. The crunch and zing are absolutely irresistible, making every bite a delightful experience.
Tips for Success
Over the years, I’ve perfected my method for making Easy Crisp Pickled Okra, and I’m excited to share some tips that will help you achieve the best results. Whether you’re a seasoned pro or trying this for the first time, these pointers will guide you to pickled perfection.
- Choose the right okra: Look for fresh, young okra pods that are firm and bright green. Smaller pods tend to be more tender and less fibrous, making them excellent for your Easy Crisp Pickled Okra.
- Use distilled vinegar: For the best flavor and clarity in your brine, opt for distilled white vinegar. It helps enhance the taste while keeping your pickles visually appealing.
- Don’t skip the spices: Feel free to experiment with spices like dill seeds, garlic, or even a touch of red pepper flakes. These additions elevate the flavor of your Easy Crisp Pickled Okra and offer a delightful kick.
- Let them marinate: While you may be tempted to dive in right away, allowing your pickled okra to sit for at least 24 hours will deepen the flavors. For the best taste, let them marinate for a few days!
- Store properly: Keep your pickled okra in the refrigerator in an airtight container. They should stay crisp and tasty for up to a month, although they may not last that long!
By following these simple tips, you’re guaranteed to enjoy crunchy, tangy, and flavorful Easy Crisp Pickled Okra every time you make them. Happy pickling!
Equipment Needed
To create my beloved Easy Crisp Pickled Okra, having the right equipment is essential. Each tool plays a vital role in ensuring the process is smooth and the final product is deliciously crunchy. Below, I’ve compiled a list of the necessary equipment, along with some practical alternatives you might find helpful.
- Mason jars: I prefer using quart-sized jars, but pint-sized ones work just as well for smaller batches.
- Large pot: A heavy-bottomed pot is ideal for bringing the pickling brine to a boil. If you don’t have one, a regular saucepan will do.
- Measuring cups and spoons: Accurate measurements are key to achieving the excellent balance of flavors in my Easy Crisp Pickled Okra.
- Slotted spoon: This handy tool helps remove the okra from the boiling brine without losing any precious liquid.
- Funnel: A wide-mouth funnel makes filling the jars a breeze and keeps my countertops mess-free.
- Kitchen towel: I always keep one handy to wipe any spills and to help with jar handling.
With these tools in place, you’re ready to embark on the delightful journey of pickling. You’ll find that the process is not only simple but incredibly rewarding, especially when you taste the vibrant flavors of your Easy Crisp Pickled Okra. Happy pickling!
Variations
- Spicy Kick: If you love a bit of heat, add sliced jalapeños or red pepper flakes to your brine. This variation takes the Easy Crisp Pickled Okra to another level, infusing each bite with a delightful spiciness that complements the okra’s natural flavor.
- Garlic Lovers: For those who can’t get enough garlic, toss in a few crushed cloves into the pickling mixture. The garlic will infuse the okra with a robust flavor, creating a savory snack that pairs perfectly with sandwiches or charcuterie boards.
- Herbal Infusion: Experiment with fresh herbs like dill, thyme, or even basil. I’ve found that adding dill not only enhances the flavor but also gives the Easy Crisp Pickled Okra a beautiful presentation. The herbs add an aromatic quality that makes each jar a feast for the senses.
- Sweet and Tangy Twist: For a sweet and tangy version, include a tablespoon of sugar in your brine. This subtle sweetness balances the vinegar’s acidity perfectly. It’s a delightful twist on the classic recipe, making it a great addition to salads or as a side dish.
- Vegetable Medley: Why stop at okra? You can also pickle other vegetables along with the okra, such as carrots, cucumbers, or even cauliflower. This colorful medley not only looks appealing but also provides a variety of tastes and textures in each bite of your Easy Crisp Pickled Okra.
These variations keep the recipe exciting and allow you to customize the flavor profile to suit your palate. Whether you prefer it spicy, garlicky, or sweet, each adaptation of the Easy Crisp Pickled Okra offers a unique twist that’s sure to impress.
Print
Easy Crisp Pickled Okra That Will Impress Your Guests!
- Prep Time: 15 minutes
- Cook Time: 10 minutes
- Total Time: 25 minutes
- Yield: 4 1x
- Category: Side Dish
- Cuisine: Southern
Description
Easy Crisp Pickled Okra is a delightful and tangy side dish that adds a crunchy twist to your meals. Perfect for snacking or as a garnish!
Ingredients
- 1 pound fresh okra, washed and trimmed
- 2 cups white vinegar
- 1 cup water
- 1 tablespoon salt
- 2 cloves garlic, peeled
- 1 teaspoon black peppercorns
- 1 teaspoon dill seeds
- 1 teaspoon mustard seeds
- 1 teaspoon red pepper flakes (optional, for heat)
Instructions
- In a large pot, combine the vinegar, water, and salt. Bring to a boil over medium-high heat, stirring until the salt dissolves.
- Add the garlic, black peppercorns, dill seeds, mustard seeds, and red pepper flakes (if using) to the pot. Stir well and remove from heat.
- Pack the okra into clean, sterilized jars, leaving some space at the top.
- Pour the hot vinegar mixture over the okra, ensuring the okra is fully submerged. Leave about half an inch of headspace at the top of the jars.
- Seal the jars with lids and allow them to cool to room temperature.
- Once cooled, refrigerate the jars. Allow the okra to pickle for at least 24 hours before consumption for the best flavor.
Notes
- For added flavor, consider adding sliced jalapeños or other spices.
- These pickled okras can be stored in the refrigerator for up to 3 months.
- Great as a topping for salads or sandwiches!
Nutrition
- Serving Size: 1 jar (about 4 oz)
- Calories: 50
- Sugar: 1 g
- Sodium: 380 mg
- Fat: 0 g
- Saturated Fat: 0 g
- Carbohydrates: 10 g
- Fiber: 4 g
- Protein: 2 g
- Cholesterol: 0 mg


