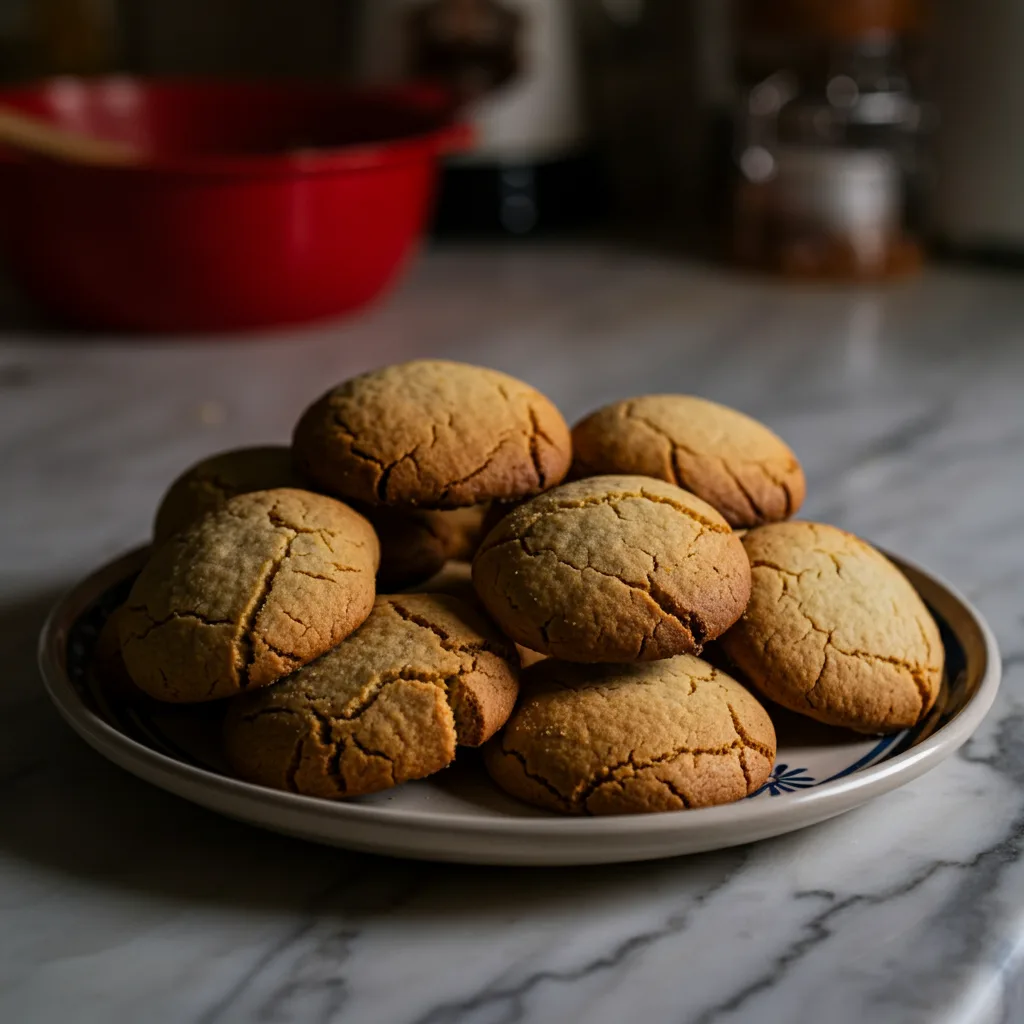
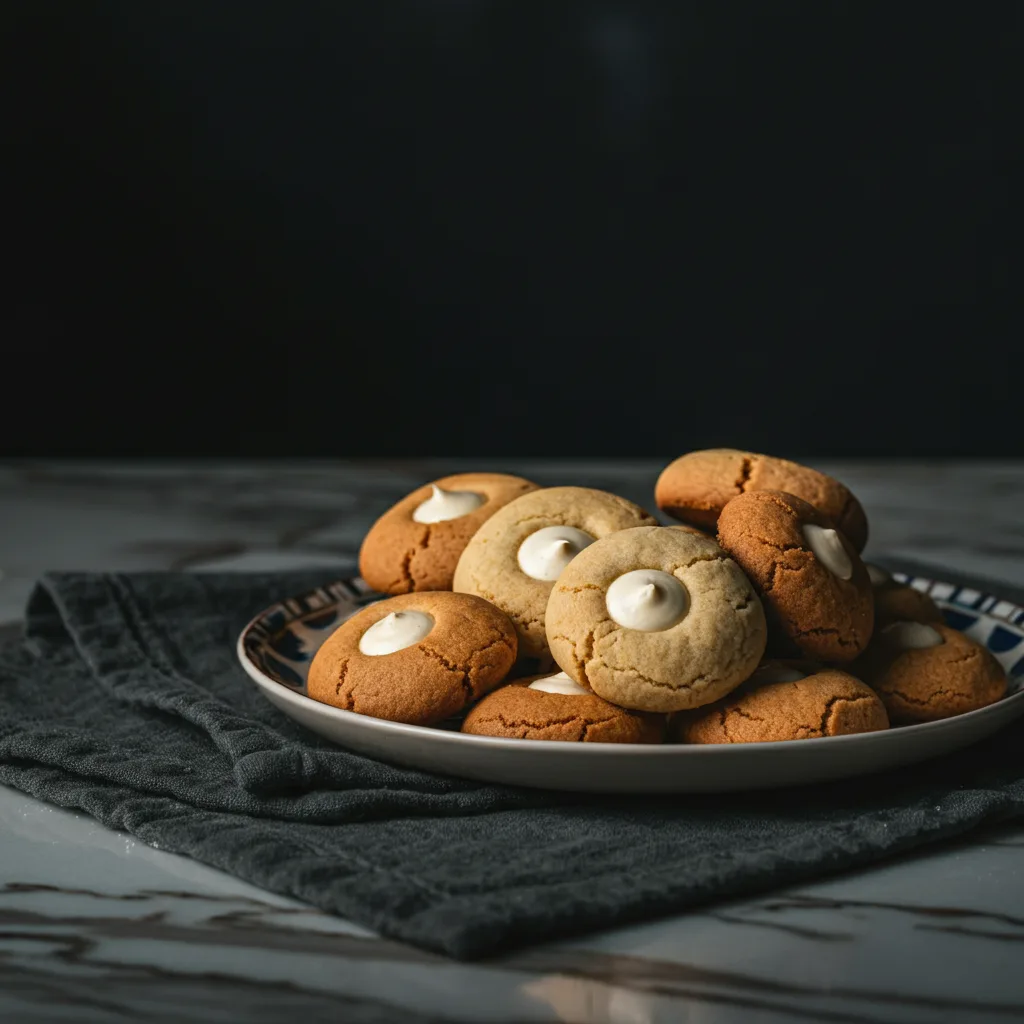
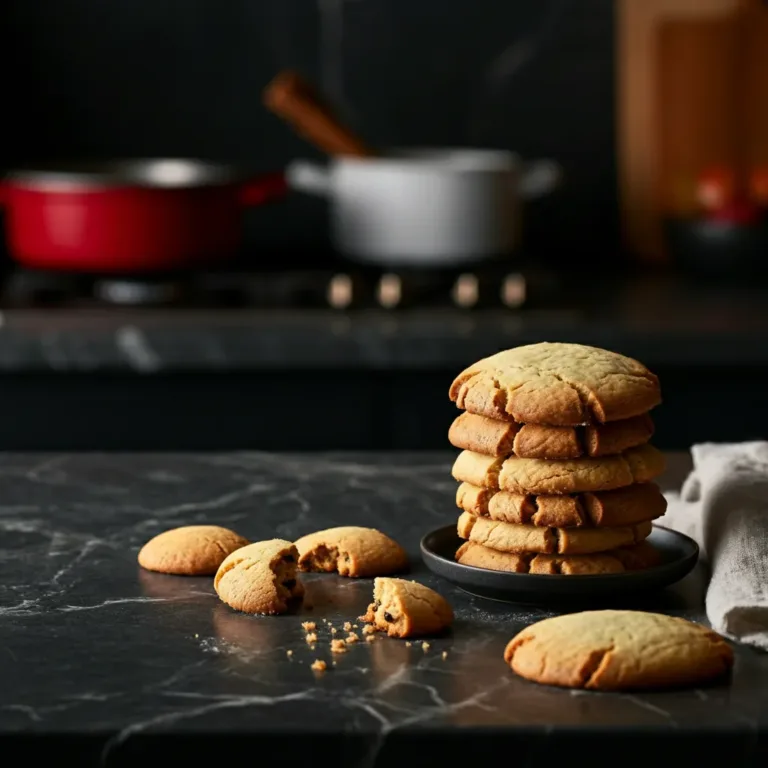
You know, Christmas at Nonna’s house wasn’t just a holiday, it was an experience. The smell of pine needles, a little too much tinsel, and, oh my goodness, the scent of fresh-baked Traditional Italian Christmas Cookies wafting from the kitchen. I can still picture her flour-dusted apron and the organized chaos of her tiny kitchen. My first attempt at these cookies? Total disaster. I used too much flour, and they came out like hockey pucks! But Nonna, bless her heart, just laughed and showed me the ropes. This recipe isn’t just about flour and sugar, it’s about that feeling, that warmth, that connection to generations past.
[rank_math_toc]
I remember one year, I was so excited to make these Traditional Italian Christmas Cookies for a school bake sale. I was rushing, trying to get everything done, and totally forgot the baking powder! The cookies came out flat as pancakes, and I almost cried. My mom, seeing my little disaster, just scooped them up, called them “Italian cookie thins,” and they sold out anyway! It taught me that even kitchen oops moments can turn into something special, or at least a good story.
Traditional Italian Christmas Cookies: Ingredients
- All-Purpose Flour: This is our base, the backbone of these cookies. Honestly, don’t skimp on sifting, it makes a world of difference for that tender crumb. I once didn’t sift, and the dough was lumpy, not fun to work with!
- Granulated Sugar: Sweetness, of course! But it also helps with that delicate texture. I tried using less once, and they just weren’t the same. Stick to the recipe for these Traditional Italian Christmas Cookies.
Unsalted Butter: Room temperature, please! This is non-negotiable for creaming properly. I used cold butter once, thinking “it’ll soften,” and it just made a lumpy mess. Soft butter means a fluffy dough.
Large Eggs: Binders, richness, and structure. I always use large eggs, it’s what Nonna used. Don’t go for small or jumbo, the liquid ratio matters.
Baking Powder: Our little lift! This is what makes them puff up slightly and gives them that soft chew. Remember my flat cookie disaster? This is why!
- Vanilla Extract: The classic flavor enhancer. I always add a tiny bit more than the recipe calls for, especially a good quality one. You can really smell the difference.
- Almond Extract: This is the secret weapon for authentic Traditional Italian Christmas Cookies! It gives them that distinctive, lovely aroma. Don’t skip it, seriously.
- Powdered Sugar: For the glaze! Sift it, or you’ll have lumpy glaze. I speak from experience here, it’s not pretty.
- Milk (or Water): Just a tiny bit to thin the glaze. Start with less and add more if needed, you want a thick, drippy consistency, not watery.
Baking Traditional Italian Christmas Cookies: Steps
- Creaming the Foundation:
- First things first, get that butter and sugar acquainted. In a large bowl, or your stand mixer if you’re fancy (I usually just use a hand mixer, honestly, less cleanup!), cream together the softened unsalted butter and granulated sugar until it’s light and fluffy. This takes a few minutes, maybe 3-5. You’ll see it transform from dense to pale and airy. Don’t rush this step, it’s crucial for the texture of these Traditional Italian Christmas Cookies. I once cut it short, and the cookies were a bit dense, not the delicate crumb we’re after.
- Adding Wet Ingredients:
- Next up, crack in those eggs, one at a time, mixing well after each addition. Then, pour in the vanilla extract and that crucial almond extract. Mix until everything is just combined. The mixture might look a little curdled at first, but keep going! It’ll come together. Scrape down the sides of the bowl often, you don’t want any rogue bits of unmixed butter hanging out. This step smells so good, that warm almond scent starting to fill the kitchen!
- Folding in the Dry:
- In a separate bowl, whisk together your sifted all-purpose flour and baking powder. Gradually add this dry mixture to your wet ingredients, mixing on low speed until just combined. And I mean just combined! Overmixing is the enemy of tender cookies. The dough will be soft, maybe a little sticky, but that’s okay. It’s not meant to be a stiff dough. I always get a little flour on my nose during this part, just a classic kitchen mess!
- Chilling Out:
- Now, for the hardest part: patience! Wrap your dough in plastic wrap and pop it in the fridge for at least 30 minutes, or up to an hour. This helps firm up the dough, making it much easier to handle and preventing your Traditional Italian Christmas Cookies from spreading too much. I’ve definitely skipped this step in a rush, and trust me, it’s not worth it, the cookies lost their shape. A little chill time goes a long way!
- Shaping and Baking:
- Preheat your oven to 375°F (190°C). Line baking sheets with parchment paper. Roll the chilled dough into small, roughly 1-inch balls. Place them about 2 inches apart on the prepared baking sheets. They don’t spread a ton, but a little breathing room is good. I usually make them a bit uneven, gives them that charming, homemade look. Bake for 10-12 minutes, or until the edges are lightly golden. Don’t overbake, these cookies are meant to be soft!
- Glazing the Goodness:
- While the cookies cool completely on a wire rack, whisk together the powdered sugar and milk (or water) in a small bowl until smooth. You want a thick, pourable glaze. Dip the top of each cooled cookie into the glaze, letting any excess drip off, then place back on the wire rack. If you’re feeling extra festive, add some sprinkles right away before the glaze sets. The kitchen smells like sweet almond and vanilla now, just heavenly! These Traditional Italian Christmas Cookies are almost ready for their close-up!
Making these Traditional Italian Christmas Cookies always brings me back to Nonna’s kitchen. One time, I was glazing them, and my cat, Mittens, decided to jump on the counter, leaving a tiny paw print in a still-wet cookie. I just laughed, wiped it off, and kept going. It’s those little, unexpected moments of kitchen chaos that make baking so much more real and, honestly, more fun.
Traditional Italian Christmas Cookies: Storage Tips
Okay, so these Traditional Italian Christmas Cookies are pretty resilient, which is awesome for holiday baking! Once the glaze is completely set (and I mean completely, give it a good hour or two at room temp), you can store them in an airtight container at room temperature for up to a week. I tried stacking them too soon once, and they all stuck together in a glorious, sugary mess learned that the hard way, lol. If you want to prep ahead, you can freeze the unglazed baked cookies for up to 3 months. Just thaw them at room temperature and then glaze as usual. They hold up surprisingly well, though I wouldn’t recommend freezing them after glazing, as the glaze can get a bit sticky and weep when thawed.

Ingredient Substitutions for Italian Christmas Cookies
I’ve experimented a bit with these Traditional Italian Christmas Cookies over the years, mostly because I’m notorious for running out of things mid-bake! For the almond extract, if you’re not a huge fan or don’t have it, you can swap it for an equal amount of pure lemon extract or even some finely grated lemon zest (about 1-2 teaspoons). I tried orange zest once, and it gave them a lovely, bright flavor, a bit different but still delicious. For the butter, I wouldn’t really recommend substitutes here, butter is just too integral to the texture. If you only have salted butter, just reduce the added salt in the recipe by about a quarter teaspoon, but honestly, unsalted is always my preference for baking control.
Serving Your Traditional Italian Christmas Cookies
These Traditional Italian Christmas Cookies are just begging to be shared! They’re fantastic on a holiday cookie platter, obviously, nestled amongst other festive treats. I love serving them with a hot cup of espresso the bitterness of the coffee really balances the sweetness of the glaze. Or, for a more relaxed vibe, a warm mug of spiced apple cider on a chilly evening? Yes please! They’re also a perfect little pick-me-up with a glass of milk after a long day of gift wrapping. Honestly, any time you need a little sweet something, these cookies fit the bill, bringing a little bit of that old-world charm to your table.
Traditional Italian Christmas Cookies: A Sweet Tradition
The history of these Traditional Italian Christmas Cookies, or “Biscotti di Natale” as Nonna called them, is rooted deep in Italian family traditions. They’re not fancy, not overly complicated, but they embody the spirit of the holidays: simple joys, shared moments, and a touch of sweetness. For my family, these cookies were always the first sign that Christmas was truly on its way. The kitchen would fill with the scent of almond and vanilla, and we’d all gather around, little hands eager to help (and sneak a taste of the dough!). It’s a taste of home, a connection to my heritage, and a reminder of all those cherished memories around Nonna’s table.
So, there you have it, my nonna’s cherished recipe for Traditional Italian Christmas Cookies. Every time I bake these, I feel a little piece of her in my kitchen, guiding my hands. They might not be picture-perfect every time, but they’re always made with love, and that’s what matters. I hope you give them a try and make your own sweet memories. Let me know how your batch turns out!

Frequently Asked Questions
- → Why did my Traditional Italian Christmas Cookies spread too much?
Oh, I’ve been there! It’s usually either your butter was too soft (or melted a bit) or the dough wasn’t chilled enough. Make sure your butter is just softened, not greasy, and give that dough a good chill, honestly, it makes all the difference!
- → Can I use a different extract instead of almond for these Italian Christmas Cookies?
You can! While almond is classic for Traditional Italian Christmas Cookies, I’ve tried lemon extract, and it was lovely. You could also use a bit of orange zest for a brighter flavor. Just be prepared for a slightly different, but still delicious, cookie experience!
- → My cookie dough is too sticky to roll. What should I do?
Ah, a common kitchen moment! If your dough is too sticky even after chilling, try adding a tablespoon or two more flour, just until it’s manageable. Or, pop it back in the fridge for another 20 minutes. Sometimes it just needs a little more time to firm up.
- → How long do Traditional Italian Christmas Cookies last?
Once glazed and stored in an airtight container at room temperature, these Traditional Italian Christmas Cookies usually last about a week. But honestly, they rarely last that long in my house! If you want to keep them longer, freeze the unglazed cookies for up to three months.
- → Can I add sprinkles to these Italian Christmas Cookies?
Absolutely, yes! I love adding festive nonpareils or colorful sprinkles right after glazing, before the glaze sets. It makes them look extra joyful and holiday-ready. Go wild with your sprinkle choices, it’s your kitchen after all!

Classic Italian Christmas Cookies: My Nonna’s Recipe
Traditional Italian Christmas Cookies bring holiday joy! My family’s cherished recipe for tender, lightly spiced delights. Perfect for festive baking.
- Total Time: 1 Hour 30 Minutes
- Yield: 4 Dozen 1x
Ingredients
- Dough Essentials:
- 2 ½ cups (300g) all-purpose flour, sifted
- ½ cup (113g) unsalted butter, softened
- ½ cup (100g) granulated sugar
- 2 large eggs
- 2 teaspoons baking powder
- Flavor & Sweeteners:
- 1 teaspoon vanilla extract
- 1 teaspoon almond extract
- Glaze & Finishing Touches:
- 1 ½ cups (180g) powdered sugar, sifted
- 2–3 tablespoons milk (or water)
- Optional: festive sprinkles or nonpareils
Instructions
- Creaming the Foundation:: First things first, get that butter and sugar acquainted. In a large bowl, or your stand mixer if you’re fancy (I usually just use a hand mixer, honestly, less cleanup!), cream together the softened unsalted butter and granulated sugar until it’s light and fluffy. This takes a few minutes, maybe 3-5. You’ll see it transform from dense to pale and airy. Don’t rush this step, it’s crucial for the texture of these Traditional Italian Christmas Cookies. I once cut it short, and the cookies were a bit dense, not the delicate crumb we’re after.
- Adding Wet Ingredients:: Next up, crack in those eggs, one at a time, mixing well after each addition. Then, pour in the vanilla extract and that crucial almond extract. Mix until everything is just combined. The mixture might look a little curdled at first, but keep going! It’ll come together. Scrape down the sides of the bowl often; you don’t want any rogue bits of unmixed butter hanging out. This step smells so good, that warm almond scent starting to fill the kitchen!
- Folding in the Dry:: In a separate bowl, whisk together your sifted all-purpose flour and baking powder. Gradually add this dry mixture to your wet ingredients, mixing on low speed until just combined. And I mean *just* combined! Overmixing is the enemy of tender cookies. The dough will be soft, maybe a little sticky, but that’s okay. It’s not meant to be a stiff dough. I always get a little flour on my nose during this part, just a classic kitchen mess!
- Chilling Out:: Now, for the hardest part: patience! Wrap your dough in plastic wrap and pop it in the fridge for at least 30 minutes, or up to an hour. This helps firm up the dough, making it much easier to handle and preventing your Traditional Italian Christmas Cookies from spreading too much. I’ve definitely skipped this step in a rush, and trust me, it’s not worth it; the cookies lost their shape. A little chill time goes a long way!
- Shaping and Baking:: Preheat your oven to 375°F (190°C). Line baking sheets with parchment paper. Roll the chilled dough into small, roughly 1-inch balls. Place them about 2 inches apart on the prepared baking sheets. They don’t spread a ton, but a little breathing room is good. I usually make them a bit uneven, gives them that charming, homemade look. Bake for 10-12 minutes, or until the edges are lightly golden. Don’t overbake; these cookies are meant to be soft!
- Glazing the Goodness:: While the cookies cool completely on a wire rack, whisk together the powdered sugar and milk (or water) in a small bowl until smooth. You want a thick, pourable glaze. Dip the top of each cooled cookie into the glaze, letting any excess drip off, then place back on the wire rack. If you’re feeling extra festive, add some sprinkles right away before the glaze sets. The kitchen smells like sweet almond and vanilla now, just heavenly! These Traditional Italian Christmas Cookies are almost ready for their close-up!
- Prep Time: 30 Minutes
- Cook Time: 12 Minutes
- Category: 68765966b594a79b2fa9d878
