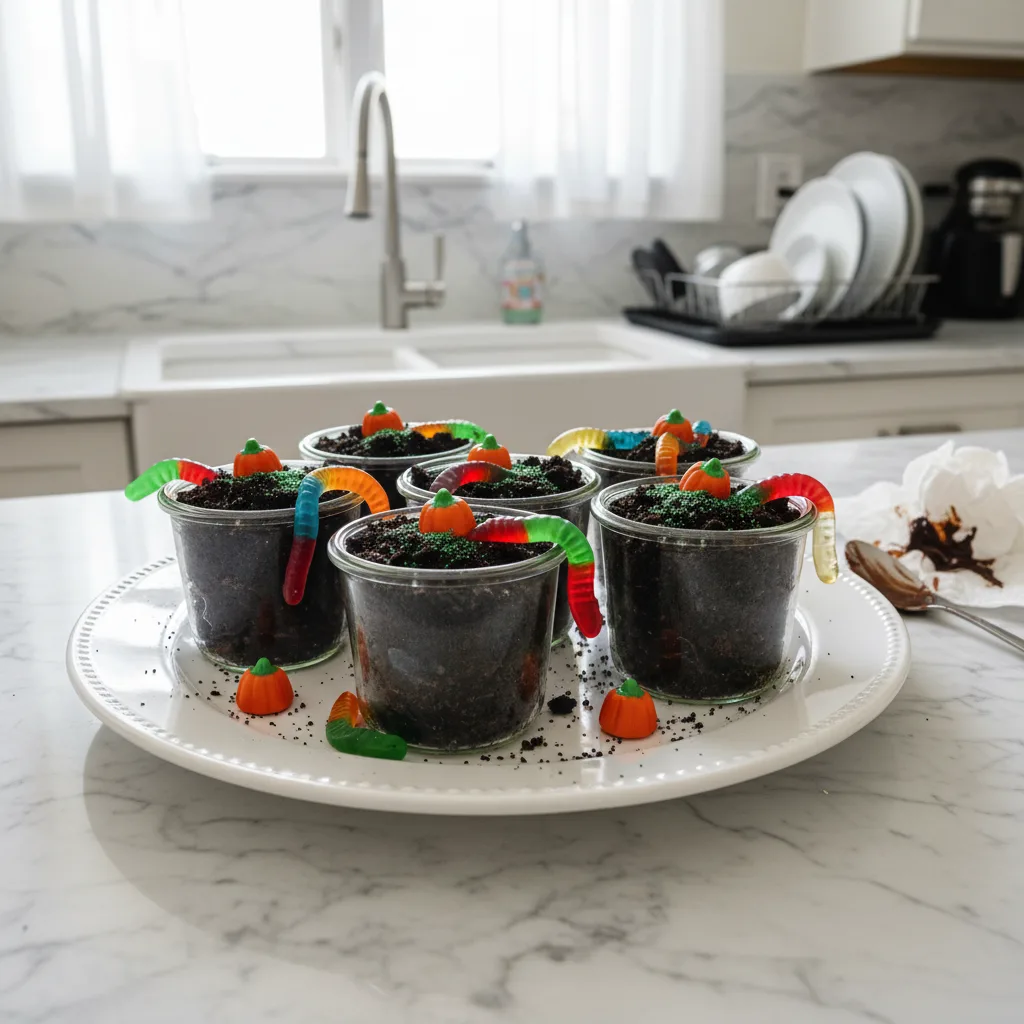
Oh, Halloween! It always brings me back to those crisp autumn evenings, the smell of fallen leaves, and the chaotic joy of my kids, little monsters themselves, running around. I swear, every year, the request for these dirt cups is the first thing out of their mouths after we pick out pumpkins. I remember the first time I tried to make these it was a total sugar-fueled experiment, honestly. I had visions of neat layers, but what I got was more of a… well, a ‘rustic’ look. But the smiles? Those were picture-perfect. This recipe isn’t just a dessert, it’s a memory-maker, a little bit of spooky fun that brings everyone together.
I still laugh thinking about the time I tried to use a food processor for the cookies while the kids were ‘helping.’ One minute, I’m explaining the pulse button, the next, chocolate cookie crumbs are everywhere. Like, on the ceiling. I swear, it looked like a dirt explosion. We ended up just crushing them in a bag with a rolling pin way less mess, honestly. Sometimes, the simplest way is the best way, even if it means a bit of a workout!
Rainbow Worm Halloween Dirt Cups: Ingredients
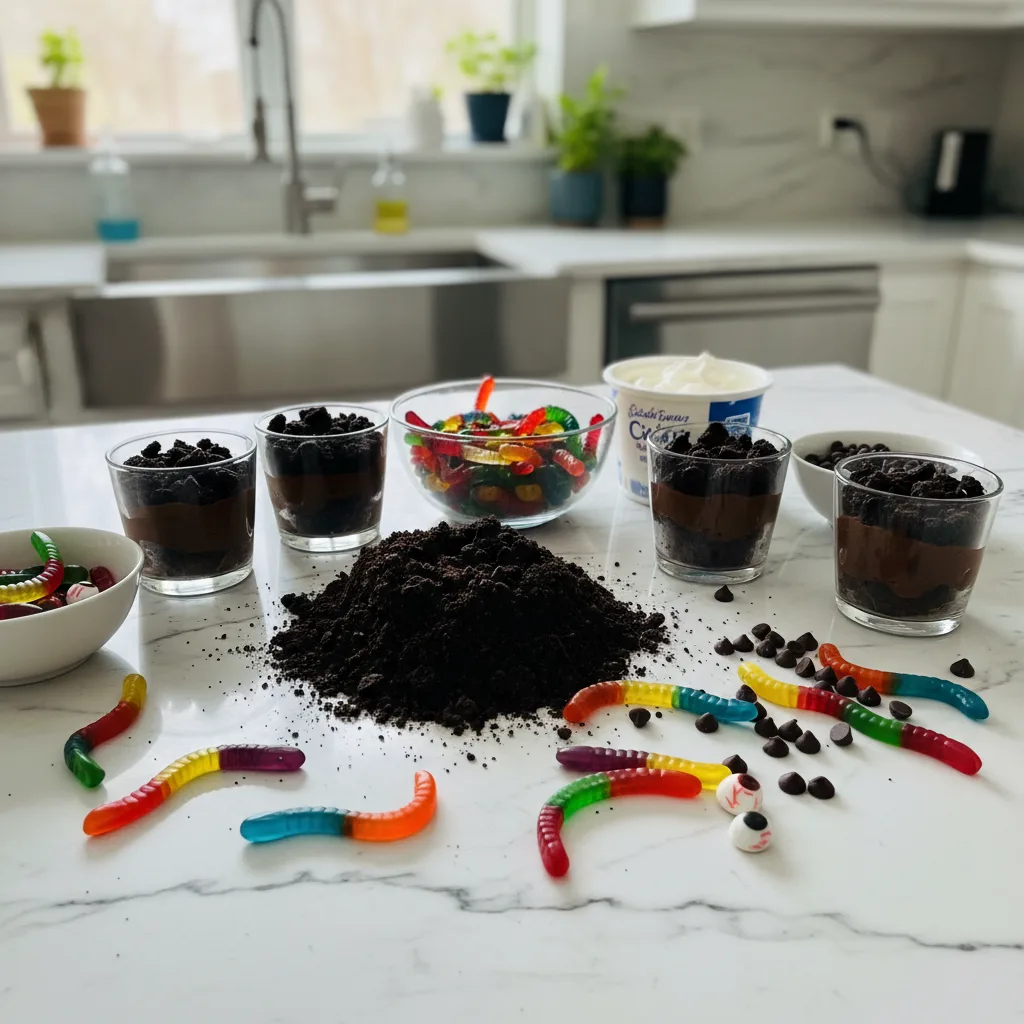
- Oreo Cookies (or similar chocolate sandwich cookies): The “dirt,” obviously! You need that dark, crumbly texture. Don’t cheap out here, the real deal makes all the difference. I once used some off-brand and it just wasn’t the same. The cream filling helps bind it, too.
- Instant Chocolate Pudding Mix: For that rich, creamy “mud” layer. I always grab Jell-O brand, two small boxes, because it sets up so reliably. Don’t even think about using the cook-and-serve kind for this we’re going for quick and easy, remember?
Milk (whole milk, please!): This is crucial for pudding consistency. Honestly, I tried 2% once, and it was just… thin. Not the luscious, thick mud we’re aiming for. Go full-fat, you won’t regret it.
Whipped Topping (like Cool Whip), thawed: Adds an airy, light contrast to the dense pudding. Don’t try to substitute with homemade whipped cream unless you’re serving immediately, it just doesn’t hold up as well, I learned that the hard way.
Gummy Worms (assorted colors): The stars of the show! These little guys bring the ‘worm’ to our dirt cups. Pick up a big bag, because you’ll want plenty for decorating and, let’s be real, for snacking while you assemble.
- Green Food Coloring (optional): For a little extra ‘grass’ or ‘slime’ effect if you’re feeling fancy. I use just a drop or two to tint some of the whipped topping for a pop of color, it’s a fun surprise.
Rainbow Worm Halloween Dirt Cups: Instructions
- Step 1: Get Crushing!
- Okay, first things first, let’s make that dirt. Grab your chocolate sandwich cookies the whole pack! You can get fancy with a food processor if you want, but honestly, my favorite way (and the least messy, usually) is to just put them in a large Ziploc bag and smash them with a rolling pin. Or a heavy can. Or your frustrations from the day! Just make sure they’re finely crushed, like real dirt. You want about 4 cups of crumbs, give or take. Don’t worry if there are a few bigger chunks, it adds character, right?
- Step 2: Whip Up the Muddy Pudding.
- Now for the creamy, chocolatey mud! In a large bowl, whisk together your instant chocolate pudding mix and the cold whole milk. Whisk it good, hon, for about two minutes straight. You want it nice and smooth, with no lumps hiding in there. It’ll start to thicken up pretty quickly, which is what we want. I usually let it sit for another minute or two while I’m getting the whipped topping ready, just to make sure it’s really setting up.
- Step 3: Fold in the Fluff.
- Once your pudding is looking thick and glorious, gently fold in about half of your thawed whipped topping. This step is where the magic happens, giving our “mud” a lighter, airier texture. Don’t overmix it, or you’ll lose all that lovely fluffiness! Just fold until it’s just combined, with a few streaks of white still visible. It’s okay if it’s not perfectly uniform, that just makes it look more… organic, like real dirt and mud, I swear!
- Step 4: Layering the Spooky Goodness.
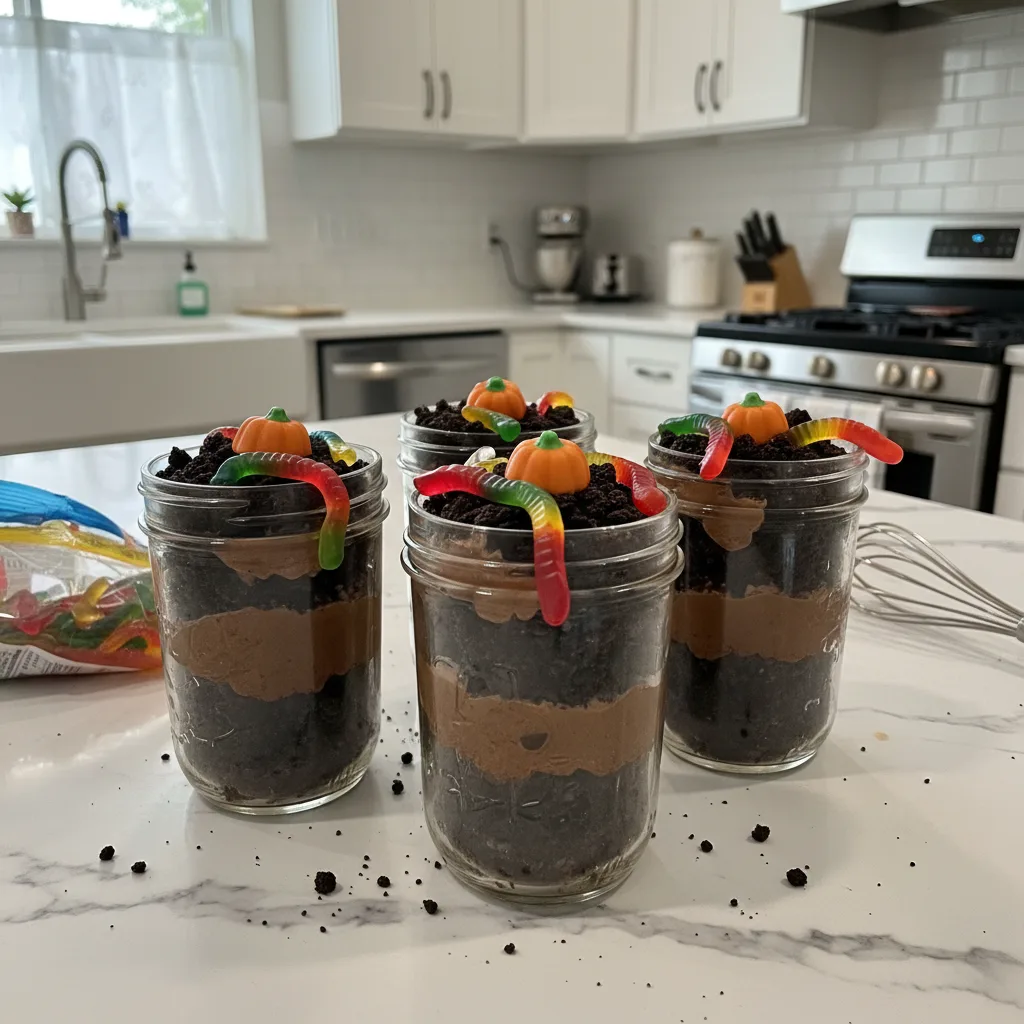
- Time to assemble your spooky masterpieces! Grab your individual serving cups clear ones are best so you can see all those fun layers. Start with a generous spoonful of your cookie “dirt” at the bottom. Then, spoon a layer of your chocolate pudding mixture over the crumbs. Don’t be afraid to get a little messy here, it’s dirt cups, after all! Repeat these layers: dirt, then pudding, until your cups are nearly full. I usually aim for two layers of each.
- Step 5: Add Your Wriggly Friends.
- This is the best part! Take your gummy worms and start placing them strategically. Have some peeking out of the “dirt” on top, maybe one or two diving into the pudding layer below. I like to make them look like they’re just emerging from the ground. Don’t be shy with the worms, the more, the merrier, honestly. The kids always get a kick out of seeing them. This is where you can let your inner artist (or mischievous kid) shine!
- Step 6: Chill Out and Enjoy!
- Once all your dirt cups are assembled and looking perfectly creepy-crawly, pop them into the fridge. They need at least 30 minutes to an hour to chill completely and let those flavors meld and the pudding firm up even more. I know, waiting is the hardest part, but it’s worth it! When you pull them out, they’ll be cool, creamy, and ready for all your little goblins (and big ones too!) to devour.
There’s something so satisfying about seeing those layers come together, even if my kitchen counter ends up looking like a chocolate explosion. One time, my youngest, who was barely tall enough to see over the counter, ‘helped’ by adding an entire extra handful of gummy worms to one cup. It was practically a worm farm! But honestly, that’s what these dirt cups are about a little bit of playful chaos and a whole lot of sweet memories.
Rainbow Worm Halloween Dirt Cups: Storage & Prep
These dirt cups are pretty forgiving when it comes to storage, which is a huge win for party planning! You can make them a day ahead, honestly, and they’ll be even better because the flavors have a chance to really get cozy together. Just make sure to cover each cup tightly with plastic wrap before popping them into the fridge. I’ve had them last happily for up to 3 days, though the cookie crumbs can get a tiny bit softer after the first day. Don’t try to freeze them, though the pudding gets weird and watery when it thaws, I tried that once and it was a total disaster, lol. Just keep ’em chilled! (125 words)
Rainbow Worm Halloween Dirt Cups: Ingredient Swaps
Okay, so you’re out of Oreos? No worries! I’ve totally been there. You can absolutely use other chocolate sandwich cookies, or even plain chocolate wafers if you want a less sweet “dirt.” I tried graham crackers once for a lighter base, and it worked… kinda, but it didn’t have that deep chocolatey look for this fun treat. For the pudding, vanilla or even white chocolate pudding works if you want a different “mud” color, but chocolate is classic for a reason, you know? And if you can’t find gummy worms, any other gummy candy works gummy bears, frogs, even those sour strips cut into pieces! Get creative, that’s what I always say. (123 words)
Serving Up Your Spooky Rainbow Worm Halloween Dirt Cups
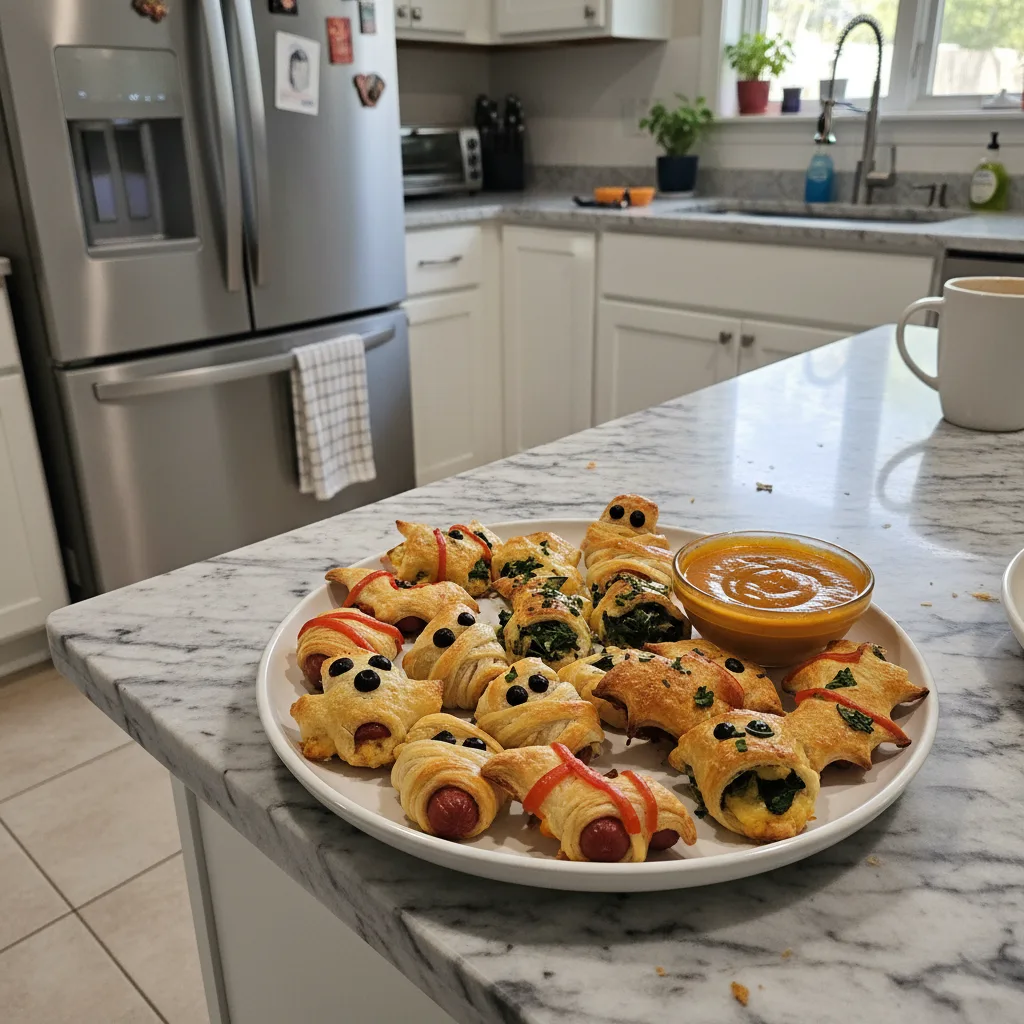
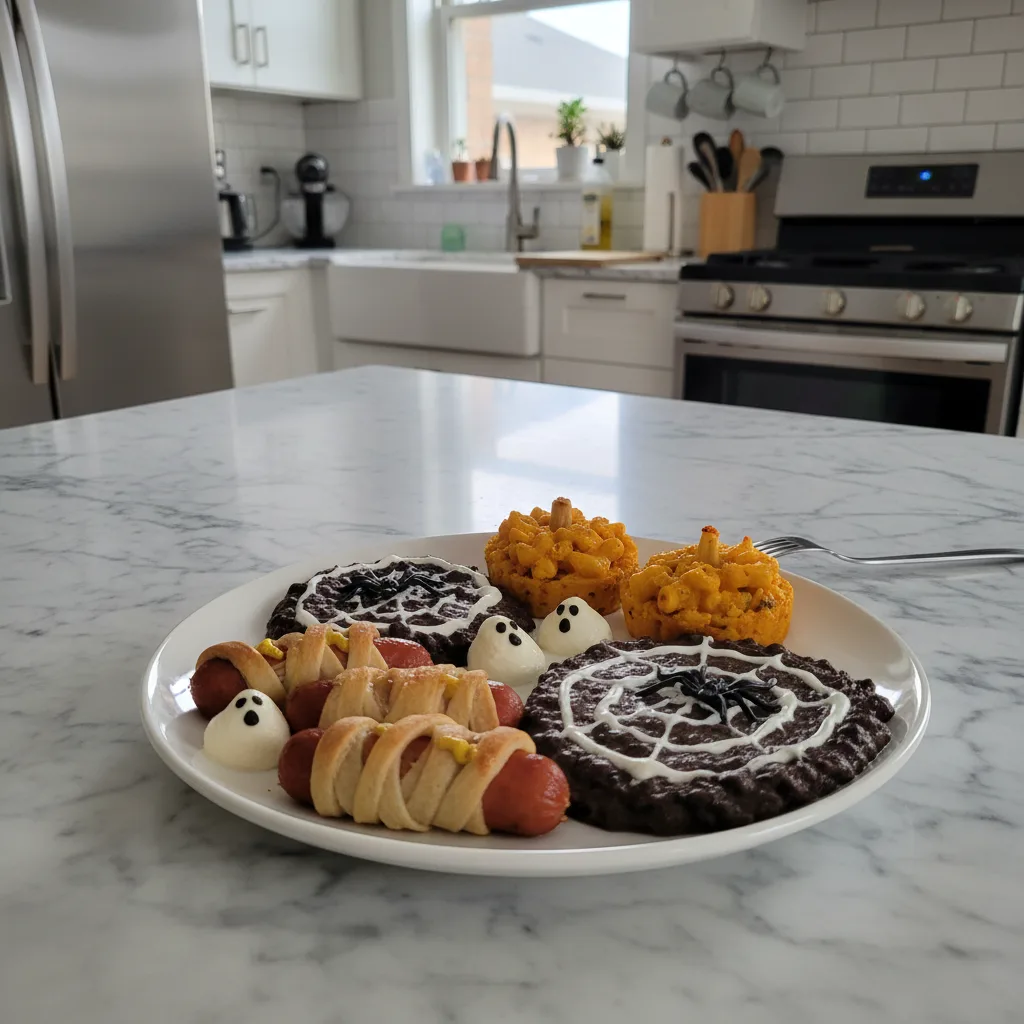
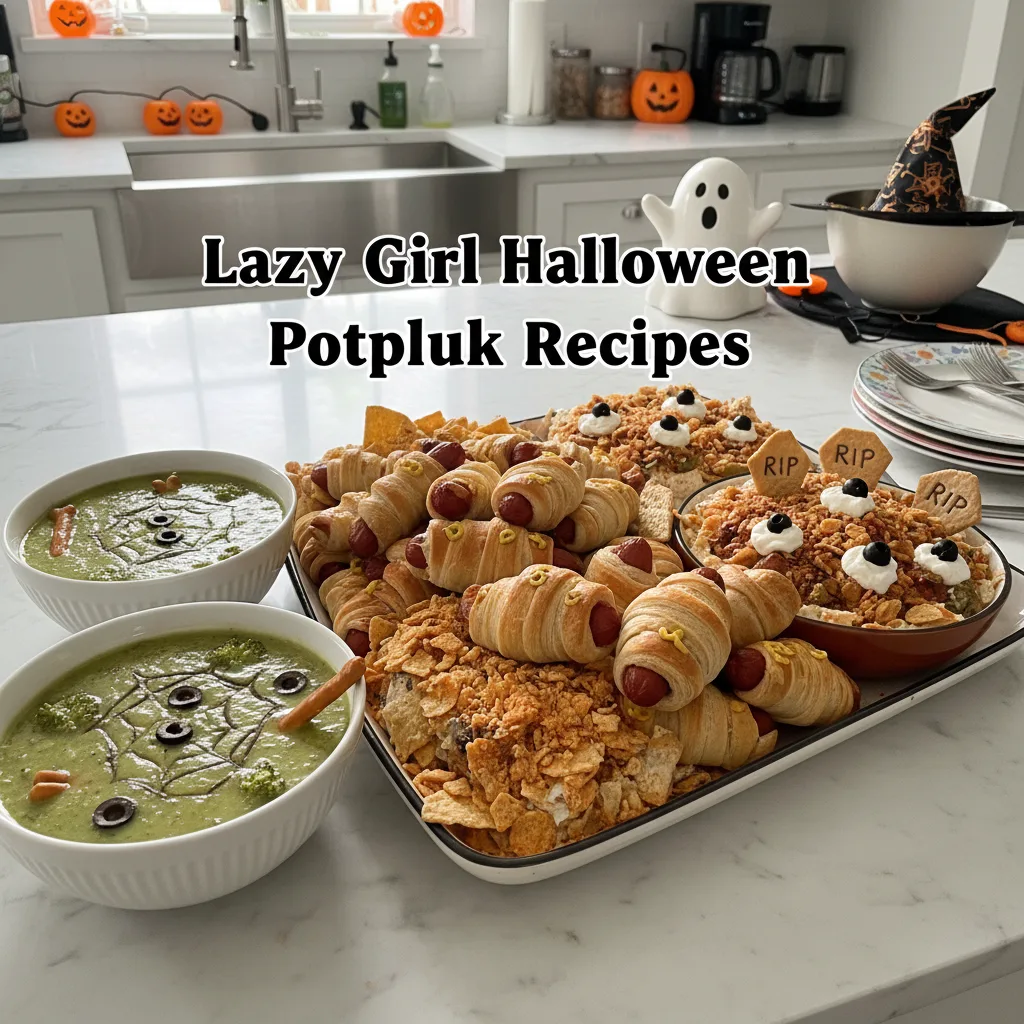
These are a standalone star, honestly! But if you’re throwing a full-on spooky bash, I love serving these alongside some savory snacks. Think mini mummy hot dogs or some cheesy witch finger breadsticks a nice contrast to the sweet. For drinks, a bubbling green punch (ginger ale with a few drops of food coloring!) makes for a fun pairing. And for a truly cozy Halloween vibe, I grab a fuzzy blanket, put on a classic spooky movie like “Hocus Pocus,” and dig into my dirt cups. It’s the simple things, right? They’re just pure joy, any way you serve them. (119 words)
The Story Behind This Fun Halloween Dessert
Honestly, for me, this dessert is less about some grand cultural history and more about the pure, unadulterated joy of childhood. I remember seeing these at school bake sales and birthday parties when I was a kid, and they always felt so magical and a little bit mischievous. It’s that clever trick of making something look like dirt and worms, but tasting like pure sugary delight, that always got me. It became a personal tradition in my own home, a way to recreate those happy, carefree memories for my kids. It’s a simple dessert, but it carries so much nostalgic weight, a sweet reminder of simpler times and playful scares. (124 words)
And there you have it, hon! My absolute favorite way to bring a little bit of spooky fun to the table. These dirt cups always bring a smile, a little bit of a sugar rush, and a whole lot of happy memories. I hope you make them and create some wonderfully messy, joyful moments in your own kitchen. Don’t forget to tell me how your wormy creations turn out!
Frequently Asked Questions
- → Can I use sugar-free pudding for these Rainbow Worm Halloween Dirt Cups?
Honestly, yes, you can! I’ve tried it, and it works pretty well. The texture might be a tiny bit different, a little less rich, but it still sets up nicely. Just make sure you’re still using whole milk for the best consistency.
- → What if I don’t have individual cups for my Rainbow Worm Halloween Dirt Cups?
No problem at all! You can totally make one big “dirt patch” in a clear trifle dish or a large glass bowl. It looks just as impressive, and honestly, sometimes it’s easier for serving a crowd. Just layer it all up!
- → My pudding isn’t setting right for my Rainbow Worm Halloween Dirt Cups, what happened?
Oh, that’s happened to me before, too! Usually, it’s because the milk wasn’t cold enough, or it wasn’t whisked long enough. Make sure your milk is super chilled and you whisk for the full two minutes. Patience is key here, hon!
- → How long do the gummy worms stay good in the Rainbow Worm Halloween Dirt Cups?
They’ll stay soft and chewy for a couple of days in the fridge, honestly. After that, they can start to get a little firm from the cold. If you’re really worried, you can add them right before serving for maximum squishiness.
- → Can I add other candy to my Rainbow Worm Halloween Dirt Cups?
Absolutely! Get creative! I’ve seen people add candy corn, chocolate rocks, even little candy pumpkins. It’s your dirt patch, so put whatever creepy-crawlies or spooky decorations you want in there! Have fun with it!
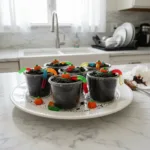
Spooky Rainbow Worm Halloween Dirt Cups
- Prep Time: 15 Minutes
- Cook Time: 0 Minutes
- Total Time: 45 Minutes
- Yield: 8 Servings 1x
- Category: Tasty Recipes
Description
Spooky Rainbow Worm Halloween Dirt Cups are a fun, easy treat! Layer crushed cookies, creamy pudding, and gummy worms for a delightful, kid-friendly dessert.
Ingredients
- The Dirt Base:
- 1 (14.3 oz) package Oreo Cookies (or similar chocolate sandwich cookies)
- Creamy Layers:
- 2 (3.9 oz) packages instant chocolate pudding mix
- 3 cups cold whole milk
- 1 (8 oz) container whipped topping (like Cool Whip), thawed
- Gummy Garden:
- 1 (8 oz) bag gummy worms (assorted colors)
- Optional Spooky Extras:
- Green food coloring
Instructions
- Get Crushing!: Okay, first things first, let’s make that dirt. Grab your chocolate sandwich cookies – the whole pack! You can get fancy with a food processor if you want, but honestly, my favorite way (and the least messy, usually) is to just put them in a large Ziploc bag and smash them with a rolling pin. Or a heavy can. Or your frustrations from the day! Just make sure they’re finely crushed, like real dirt. You want about 4 cups of crumbs, give or take. Don’t worry if there are a few bigger chunks, it adds character, right?
- Whip Up the Muddy Pudding.: Now for the creamy, chocolatey mud! In a large bowl, whisk together your instant chocolate pudding mix and the cold whole milk. Whisk it good, hon, for about two minutes straight. You want it nice and smooth, with no lumps hiding in there. It’ll start to thicken up pretty quickly, which is what we want. I usually let it sit for another minute or two while I’m getting the whipped topping ready, just to make sure it’s really setting up.
- Fold in the Fluff.: Once your pudding is looking thick and glorious, gently fold in about half of your thawed whipped topping. This step is where the magic happens, giving our “mud” a lighter, airier texture. Don’t overmix it, or you’ll lose all that lovely fluffiness! Just fold until it’s just combined, with a few streaks of white still visible. It’s okay if it’s not perfectly uniform, that just makes it look more… organic, like real dirt and mud, I swear!
- Layering the Spooky Goodness.: Time to assemble your spooky masterpieces! Grab your individual serving cups – clear ones are best so you can see all those fun layers. Start with a generous spoonful of your cookie “dirt” at the bottom. Then, spoon a layer of your chocolate pudding mixture over the crumbs. Don’t be afraid to get a little messy here; it’s dirt cups, after all! Repeat these layers: dirt, then pudding, until your cups are nearly full. I usually aim for two layers of each.
- Add Your Wriggly Friends.: This is the best part! Take your gummy worms and start placing them strategically. Have some peeking out of the “dirt” on top, maybe one or two diving into the pudding layer below. I like to make them look like they’re just emerging from the ground. Don’t be shy with the worms; the more, the merrier, honestly. The kids always get a kick out of seeing them. This is where you can let your inner artist (or mischievous kid) shine!
- Chill Out and Enjoy!: Once all your dirt cups are assembled and looking perfectly creepy-crawly, pop them into the fridge. They need at least 30 minutes to an hour to chill completely and let those flavors meld and the pudding firm up even more. I know, waiting is the hardest part, but it’s worth it! When you pull them out, they’ll be cool, creamy, and ready for all your little goblins (and big ones too!) to devour.
