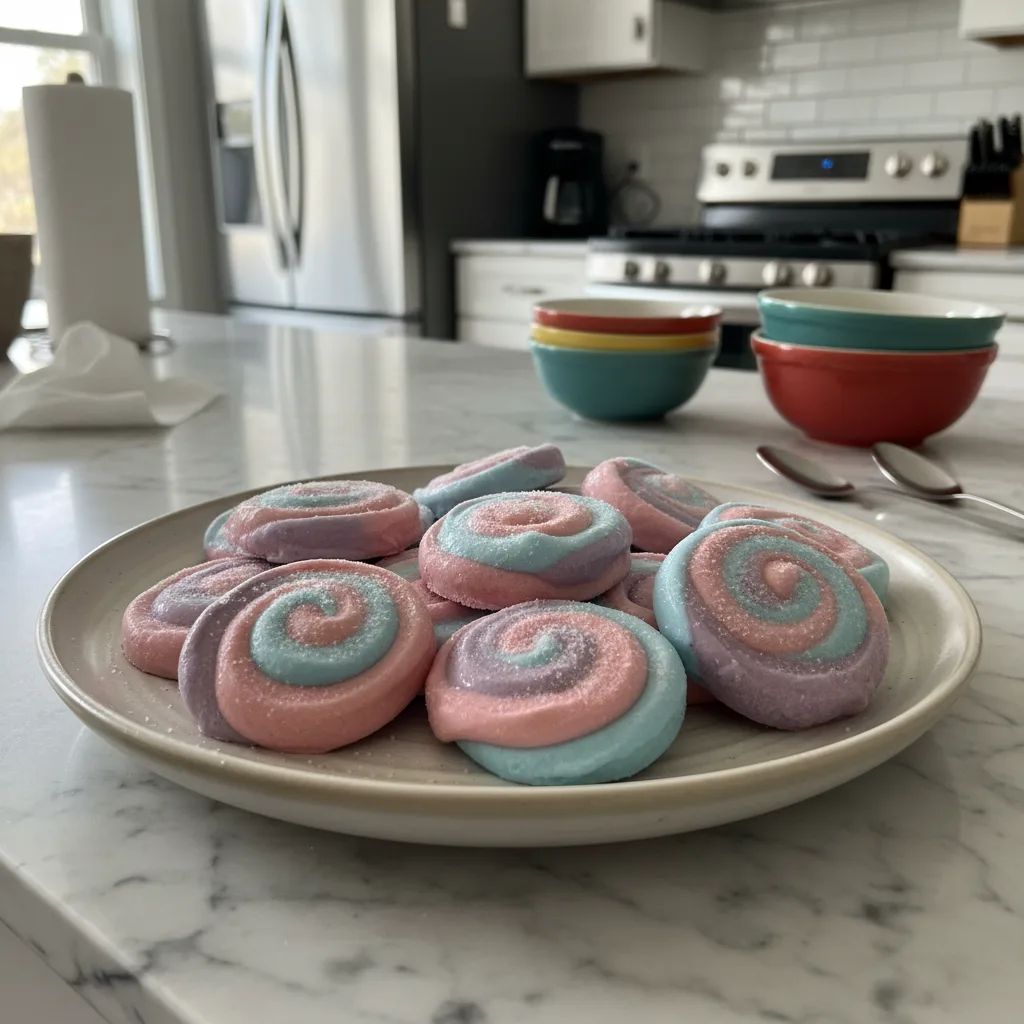
Honestly, I stumbled upon the idea for these Swirl Yogurt Bites on a particularly chaotic afternoon. The kids were buzzing, and I just needed something, anything, to keep them occupied and cool. I remembered seeing a quick frozen fruit bark online, and thought, ‘Why not yogurt?’ My first attempt at these Swirl Yogurt Bites was a glorious mess of purple and pink, a little lopsided, but oh-so-delicious. It’s become our go-to for a quick, healthy snack, a little burst of color that just makes everyone smile. They’re simple, refreshing, and honestly, a little bit magical with those swirls.
I still remember the time I tried to get too fancy with the swirls, thinking I was a culinary artist. I ended up with a muddy brown-ish blob instead of distinct pinks and blues! My little one, bless her heart, looked at it and said, ‘Mommy, did you make dirt?’ We still laugh about it. Now, I embrace the imperfection, the swirls are part of their charm, each bite a little unique, like a tiny abstract painting you can eat.
Swirl Yogurt Bites: Ingredients You’ll Need
- Full-Fat Greek Yogurt: This is the backbone of your Swirl Yogurt Bites. Don’t even think about low-fat or skim, hon. You need that creamy richness to get the right texture when frozen, anything less just turns icy and sad. I swear by Fage or Chobani for this.
- Honey or Maple Syrup: Just a touch to sweeten things up. I usually reach for local honey, but maple syrup works beautifully if you want a vegan option or just prefer that subtle flavor. Don’t overdo it, the fruit adds natural sweetness.
- Vanilla Extract: A splash of good quality vanilla just elevates the whole thing. It adds a warmth that balances the tartness of the yogurt and fruit. I’ve tried without it once, and it just wasn’t the same, it felt like something was missing.
- Fresh Strawberries: For that vibrant pink swirl! I love the natural sweetness and slight tartness. I tried frozen once, and it worked, kinda, but fresh just blends smoother and gives a better color.
- Fresh Blueberries: Hello, beautiful blue! These add a lovely, mild sweetness. I once tried to use too many and the yogurt turned too watery. A handful is plenty for a good swirl.
- Fresh Blackberries: My secret for that gorgeous purple. Blackberries bring a deeper, slightly earthier sweetness that complements the other fruits. Just be careful, they can stain! I learned that the hard way with a white shirt.
- A Tiny Pinch of Salt: Honestly, this is a game-changer. It doesn’t make it salty, it just wakes up all the other flavors, making the fruit taste fruitier and the yogurt creamier. Don’t skip it!
Crafting Your Swirl Yogurt Bites
- Prep Your Fruits:
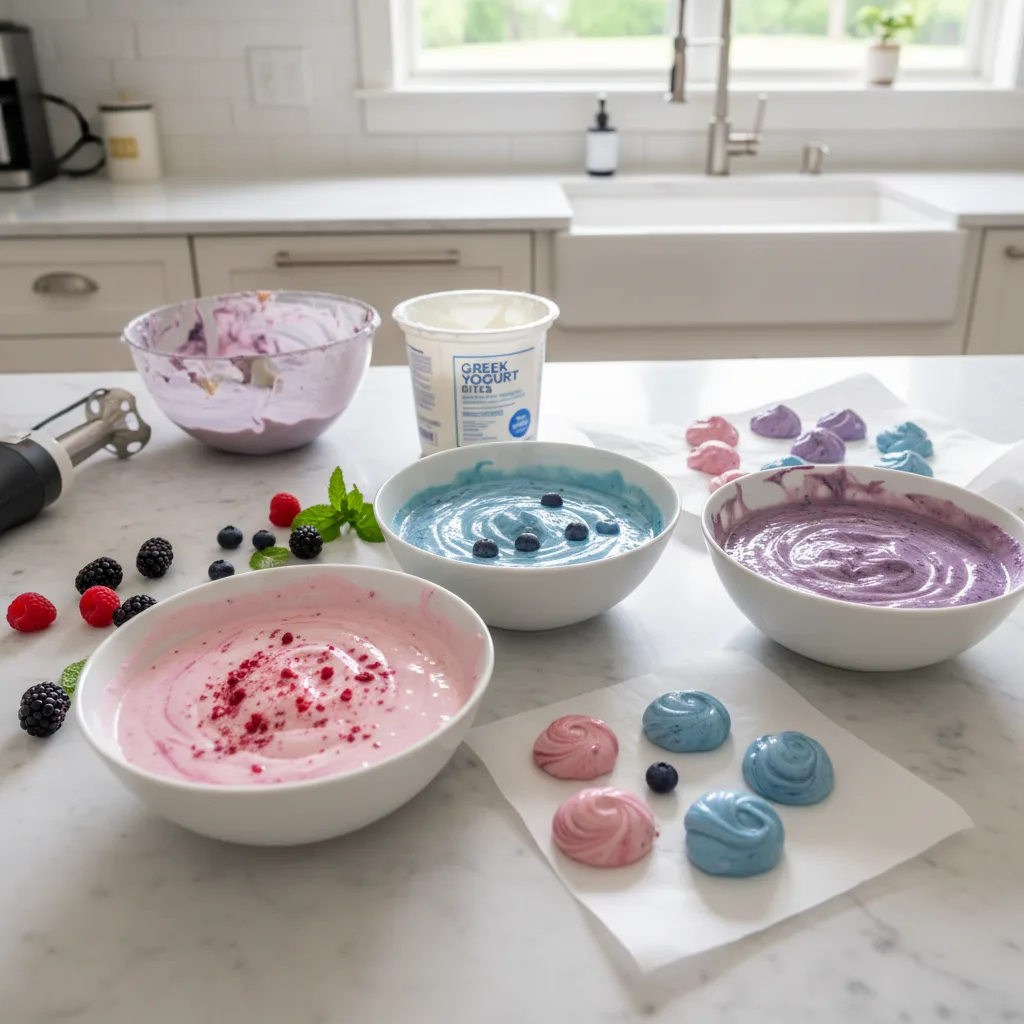
- First things first, get your fruits ready for your Swirl Yogurt Bites! I like to wash and hull my strawberries, then pop them into a small bowl. Do the same for your blueberries and blackberries, putting each into their own separate little bowl. This is where the magic of color starts, so admire those vibrant hues before they get swirled. I often find myself picking a few extra berries to snack on while I work, a little chef’s treat, you know?
- Blend the Swirls:
- Now for the fun part! Take each bowl of fruit and mash them up. You can use a fork for a rustic, chunky swirl, or a mini food processor for a smoother purée. I usually go with a fork because I like those little bits of fruit in my Swirl Yogurt Bites. If the purée seems a bit thick, add just a tiny splash of water, like half a teaspoon, to make it easier to swirl. Don’t add too much, though, or your yogurt will get runny, and we don’t want that! I once added too much water and the swirls just vanished into the yogurt, oops.
- Prepare the Yogurt Base:
- In a larger bowl, combine your full-fat Greek yogurt, honey (or maple syrup), vanilla extract, and that tiny pinch of salt. Give it a good, gentle stir until everything is just combined. You want it smooth but not overmixed. This is the canvas for your colorful Swirl Yogurt Bites, so make sure it’s lovely and creamy. I usually taste it at this point, just to make sure the sweetness is right for my mood.
- Spread the Yogurt:
- Line a baking sheet with parchment paper. This is critical, trust me, or your Swirl Yogurt Bites will stick like glue! Pour the yogurt mixture onto the prepared sheet and spread it out evenly with a spatula, aiming for about a quarter-inch thickness. Don’t worry if it’s not perfectly rectangular, mine never is. The goal is an even layer so they freeze consistently. I always try to make mine super neat and then inevitably spill a little on the counter it’s just part of my kitchen charm!
- Create the Swirls:
- Now for the artistic part of your Swirl Yogurt Bites! Dollop spoonfuls of each fruit purée randomly over the spread-out yogurt. Don’t be shy, but don’t overload it either. Then, take a skewer or a butter knife and gently swirl the fruit into the yogurt. I like to make big, sweeping motions and then smaller, tighter swirls. Remember that time I tried to be too perfect and made mud? Embrace the randomness! This step always feels a bit like painting, honestly.
- Freeze and Break:
- Carefully transfer the baking sheet to your freezer. Let your beautiful Swirl Yogurt Bites freeze solid for at least 2 hours, or until they’re firm enough to easily break. Once frozen, you can lift the parchment paper and break the yogurt bark into irregular, bite-sized pieces. They’ll look like little jewels, honestly! I love how each piece is different, a unique little frozen treat ready to be enjoyed. The colors just pop!
Making these Swirl Yogurt Bites always brings a bit of happy chaos to my kitchen, but it’s the good kind of chaos. There’s usually a little yogurt smear on the counter, maybe a stray berry or two, but the end result is so worth it. Seeing those vibrant colors come to life as they freeze, then breaking off a piece for a refreshing bite it’s a small, simple joy that I’ve come to really cherish in my cooking adventures. Pure happiness, honestly.
Storing Your Swirl Yogurt Bites
Once your Swirl Yogurt Bites are perfectly frozen and broken into pieces, storage is pretty straightforward. I usually transfer them to an airtight container or a freezer-safe bag. The key is to make sure they’re in a single layer or separated by parchment paper if you stack them, just to prevent them from freezing into one giant, solid block. I once just dumped them all in a bag, and trying to pry them apart later was quite the workout, lol. They’ll keep beautifully in the freezer for up to 2-3 weeks. Beyond that, they might start to get a bit icy or lose some of their vibrant color, but honestly, they rarely last that long in my house! Just grab a few whenever you need a quick, cool treat.
Swirl Yogurt Bites: Ingredient Swaps
When it comes to your Swirl Yogurt Bites, you’ve got options! If you’re not a fan of Greek yogurt, a good plain whole milk yogurt can work, though it might be a bit thinner. For a dairy-free version, I’ve had decent luck with unsweetened coconut cream yogurt, it freezes pretty well, but the texture is a little different, less creamy. As for the fruit swirls, get creative! Raspberries make a lovely tart pink, mango can give you a sunny yellow, and kiwi can add a bright green. I even tried a tiny bit of spinach purée once for a super vibrant green (shhh, don’t tell the kids!), and it worked surprisingly well, taste-wise, though the color was a bit intense. Just remember, different fruits have different water content, so adjust mashing or blending accordingly.
Serving Up Swirl Yogurt Bites
These Swirl Yogurt Bites are fantastic on their own, straight from the freezer, especially on a hot day. But honestly, they’re versatile! I love them as a quick, healthy breakfast, maybe alongside a cup of coffee. They also make a surprisingly elegant, light dessert after dinner. For a fun twist, you could sprinkle a few mini chocolate chips or some shredded coconut over the top before freezing I did that once, and it was a hit! They’re also a fantastic post-workout snack. Sometimes, I’ll even pop a few into a smoothie for an extra thick, fruity boost. They’re just so adaptable, perfect for whatever mood strikes you.
Swirl Yogurt Bites: A Little Backstory
While Swirl Yogurt Bites don’t have a deep, ancient culinary history, their charm lies in their simplicity and modern appeal. They really grew out of the whole ‘yogurt bark’ trend that swept through health-conscious kitchens a few years back, a brilliant way to make a healthy snack feel fun and indulgent. For me, they connect to my own childhood memories of simple, homemade treats, like frozen fruit pops my grandma used to make. It’s that feeling of taking basic, wholesome ingredients and transforming them into something bright and cheerful. It’s a testament to how simple food can bring so much joy, and how easy it is to create something beautiful right in your own kitchen.
These Swirl Yogurt Bites have become a cherished little ritual in my kitchen, a reminder that the simplest things often bring the most delight. Whether it’s the quiet satisfaction of seeing those colors emerge or the happy munching sounds from the kids, they just feel right. I hope you give them a whirl (pun intended!) and make them your own. Don’t forget to share your colorful creations with me, I’d love to see what beautiful messes you make!
Frequently Asked Questions
- → Can I make these Swirl Yogurt Bites ahead of time?
Absolutely! That’s one of their best qualities. I usually make a big batch on a Sunday, and then we have quick, healthy snacks for the whole week. They store really well in the freezer, which is a lifesaver on busy days.
- → What if my fruit purée is too watery for Swirl Yogurt Bites?
If your fruit purée seems too watery, don’t fret! You can gently simmer it on the stove for a few minutes to reduce the liquid, or just use a bit less when swirling. I learned that after a few runny batches, oops!
- → How do I get those distinct Swirl Yogurt Bites colors?
The trick is to dollop the fruit purée onto the yogurt and then swirl gently with a skewer or knife, without overmixing. I used to go wild with the swirling, and all the colors would just blend into one muddy hue!
- → Can I use frozen fruit for these Swirl Yogurt Bites?
You can, but I’ve found fresh fruit gives a better texture and brighter color. If using frozen, let it thaw slightly and drain any excess liquid before mashing or blending to avoid watery swirls.
- → Can I add other flavors to my Swirl Yogurt Bites?
Oh, for sure! A tiny bit of lemon zest in the yogurt base is lovely, or a sprinkle of cinnamon with apple purée for a different swirl. I’ve even experimented with a little cocoa powder for a chocolatey swirl, which was surprisingly good!

Swirl Yogurt Bites: Easy, Colorful Frozen Treats
- Prep Time: 15 Minutes
- Cook Time: 0 Minutes
- Total Time: 2 Hours
- Yield: 25 Bites 1x
- Category: Dinners
Description
Swirl Yogurt Bites are vibrant, healthy, and fun! Learn how to make these colorful frozen snacks with fruit and yogurt. Perfect for quick, refreshing treats.
Ingredients
- Base Ingredients:
- 2 cups full-fat Greek yogurt
- 2–3 tablespoons honey or maple syrup (adjust to taste)
- 1 teaspoon vanilla extract
- Pinch of salt
- Color & Flavor Swirls:
- 1/2 cup fresh strawberries, hulled and mashed
- 1/2 cup fresh blueberries, mashed
- 1/2 cup fresh blackberries, mashed
Instructions
- Prep Your Fruits:: First things first, get your fruits ready for your Swirl Yogurt Bites! I like to wash and hull my strawberries, then pop them into a small bowl. Do the same for your blueberries and blackberries, putting each into their own separate little bowl. This is where the magic of color starts, so admire those vibrant hues before they get swirled. I often find myself picking a few extra berries to snack on while I work, a little chef’s treat, you know?
- Blend the Swirls:: Now for the fun part! Take each bowl of fruit and mash them up. You can use a fork for a rustic, chunky swirl, or a mini food processor for a smoother purée. I usually go with a fork because I like those little bits of fruit in my Swirl Yogurt Bites. If the purée seems a bit thick, add just a tiny splash of water, like half a teaspoon, to make it easier to swirl. Don’t add too much, though, or your yogurt will get runny, and we don’t want that! I once added too much water and the swirls just vanished into the yogurt, oops.
- Prepare the Yogurt Base:: In a larger bowl, combine your full-fat Greek yogurt, honey (or maple syrup), vanilla extract, and that tiny pinch of salt. Give it a good, gentle stir until everything is just combined. You want it smooth but not overmixed. This is the canvas for your colorful Swirl Yogurt Bites, so make sure it’s lovely and creamy. I usually taste it at this point, just to make sure the sweetness is right for my mood.
- Spread the Yogurt:: Line a baking sheet with parchment paper. This is critical, trust me, or your Swirl Yogurt Bites will stick like glue! Pour the yogurt mixture onto the prepared sheet and spread it out evenly with a spatula, aiming for about a quarter-inch thickness. Don’t worry if it’s not perfectly rectangular; mine never is. The goal is an even layer so they freeze consistently. I always try to make mine super neat and then inevitably spill a little on the counter – it’s just part of my kitchen charm!
- Create the Swirls:: Now for the artistic part of your Swirl Yogurt Bites! Dollop spoonfuls of each fruit purée randomly over the spread-out yogurt. Don’t be shy, but don’t overload it either. Then, take a skewer or a butter knife and gently swirl the fruit into the yogurt. I like to make big, sweeping motions and then smaller, tighter swirls. Remember that time I tried to be too perfect and made mud? Embrace the randomness! This step always feels a bit like painting, honestly.
- Freeze and Break:: Carefully transfer the baking sheet to your freezer. Let your beautiful Swirl Yogurt Bites freeze solid for at least 2 hours, or until they’re firm enough to easily break. Once frozen, you can lift the parchment paper and break the yogurt bark into irregular, bite-sized pieces. They’ll look like little jewels, honestly! I love how each piece is different, a unique little frozen treat ready to be enjoyed. The colors just pop!


