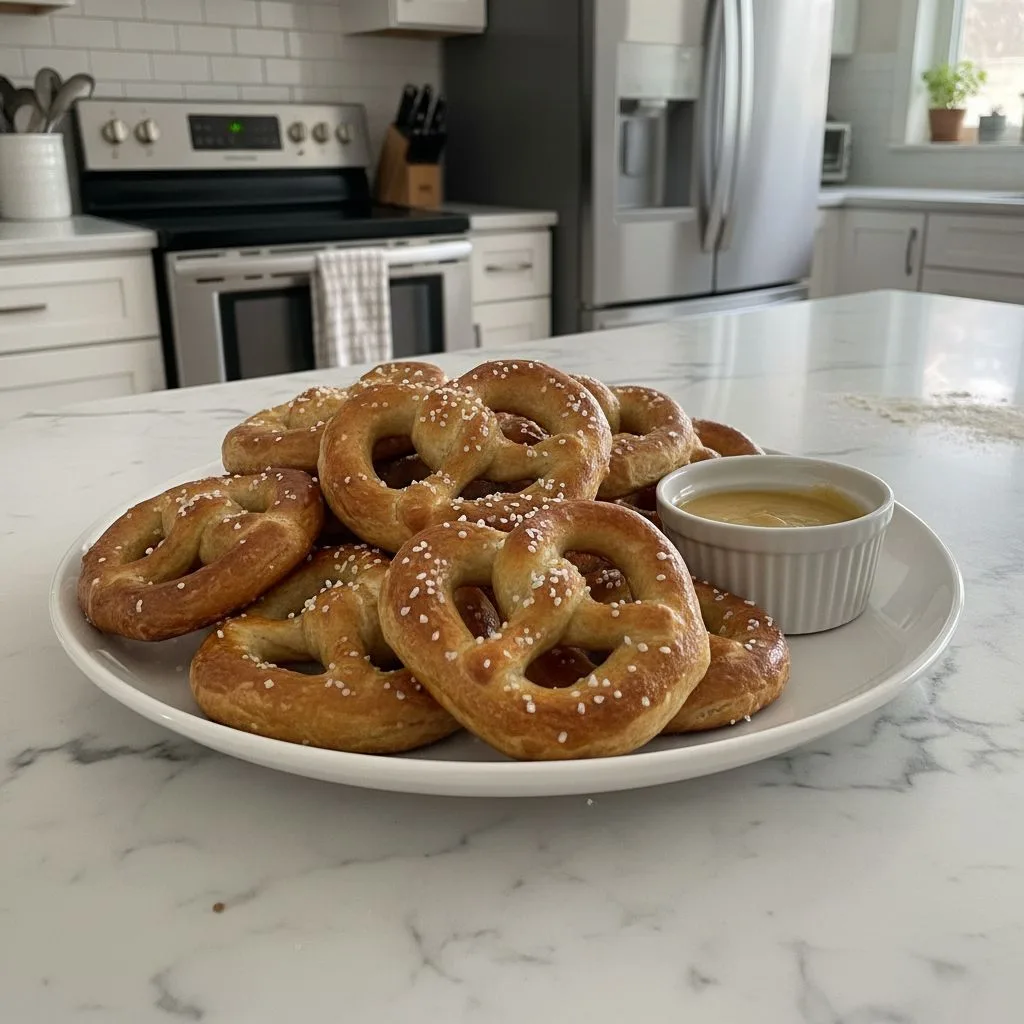
Honestly, some of my best kitchen adventures start with a sudden, intense craving and an almost empty pantry. That’s exactly how these 10 minute pretzel bites came into my life. I remember one blustery afternoon, the kids were home, bored, and suddenly all I could think about was a warm, chewy pretzel. But who has time for rising dough and all that jazz? Not me, not that day! I was convinced it was impossible, but a little internet digging (and a lot of ‘what if I just try this?’) led to a revelation. The smell of baking dough, that slight yeasty tang mingling with a hint of salt… it just transports me. It’s pure comfort, a hug in bite-sized form.
I once nearly ruined a batch of these 10 minute pretzel bites by getting distracted by a squirrel outside. Yes, a squirrel. I left the dough in the “warm water bath” for a smidge too long and ended up with something closer to a soggy biscuit than a chewy pretzel. Oops! Luckily, I salvaged it by adjusting the flour, but it was a close call. That’s my kitchen, though a mix of triumphs and hilarious near-disasters. But even with my squirrel-induced mishap, these fast pretzel bites are incredibly forgiving.
Ingredients for Your 10 Minute Pretzel Bites
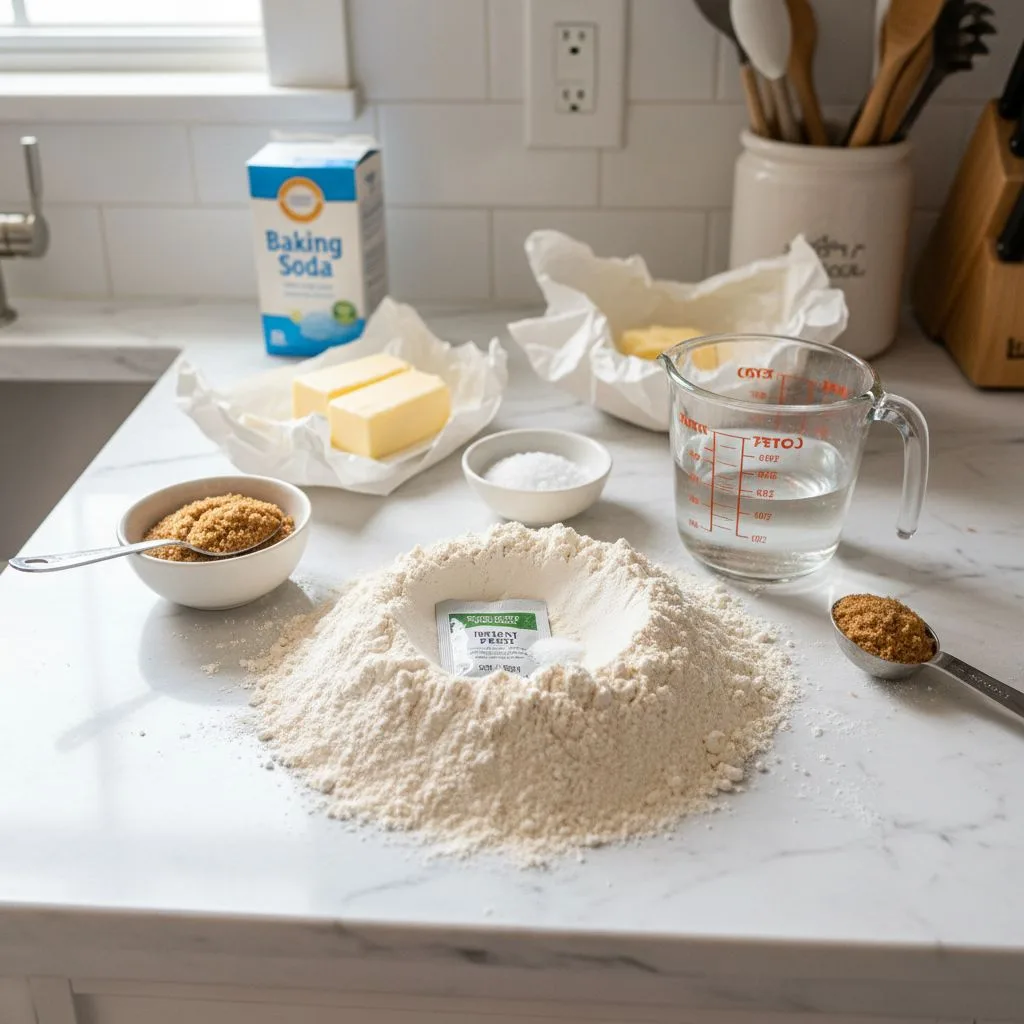
- All-Purpose Flour: This is the backbone of our quick pretzel recipe. Honestly, don’t use anything too fancy, plain old AP works beautifully. I once tried bread flour, thinking “more chew!”, but it just made them a bit too dense for such a quick bake. Stick to what you know!
- Warm Water: Not hot, not cold, but pleasantly warm like a baby’s bath. This is crucial for waking up your yeast. I learned the hard way that too hot water kills the yeast, and then you just have sad, flat dough.
- Granulated Sugar: Just a touch, really. It’s not for sweetness, but for feeding the yeast and helping those pretzel bites get that gorgeous golden-brown color. Don’t skip it, even if you’re trying to cut back.
- Active Dry Yeast: My old friend. Make sure it’s fresh! If your yeast isn’t bubbling after a few minutes in the warm water, it’s probably dead, and your pretzel bites won’t rise. Trust me, I’ve had many a flat experiment.
- Kosher Salt: Essential for flavor, both in the dough and for sprinkling. Don’t use table salt in the dough, it’s too fine. I always feel like I’m doing something right when I add that coarse salt.
- Baking Soda: Ah, the secret to that classic pretzel chew and color! This goes into the boiling water bath. I tried making them without the bath once, and they were just… breadsticks. Not the same vibe at all.
- Melted Unsalted Butter: For brushing after they bake. This gives them that lovely sheen and a rich flavor. Honestly, a little butter makes everything better, doesn’t it?
- Coarse Pretzel Salt: For sprinkling generously after the butter. This is what makes them look and taste like authentic pretzel bites. Don’t be shy, a good salt crunch is everything!
Creating Your 10 Minute Pretzel Bites
- Activate the Yeast:
- First up, grab a medium bowl. Pour in your warm water and sprinkle in the sugar and yeast. Give it a gentle stir. Now, just let it hang out for about 5 minutes. You’re looking for a foamy, bubbly top that means your yeast is alive and ready to make some magic! If it’s not bubbling, your yeast might be expired, or your water was too hot or too cold. I’ve made this mistake, and it’s a total bummer when your dough doesn’t rise, so check that yeast!
- Mix the Dough:
- Once your yeast is happy and bubbly, stir in the kosher salt. Then, gradually add the flour, about half a cup at a time, mixing with a wooden spoon or spatula. Keep adding until a shaggy dough forms. I usually end up with a bit of a sticky mess at first, which is totally fine! Just keep mixing until it starts to pull away from the sides of the bowl. Don’t overmix here, we’re going for quick and easy, not a full-on bread-making marathon.
- Knead Briefly:
- Turn the dough out onto a lightly floured surface. Now, give it a quick knead for just 2-3 minutes. You want it to become smooth and elastic, but honestly, this isn’t a vigorous workout. I just push it away, fold it back, and turn it. It should feel soft and pliable. This short knead is just enough to develop a bit of gluten without dedicating an hour to it. I love how it transforms from sticky to smooth in such a short time!
- Shape Your Pretzel Bites:
- Divide the dough into two equal pieces. Roll each piece into a long rope, about 1/2-inch thick. Now, using a sharp knife or a bench scraper, cut each rope into 1-inch pieces. These are your little pretzel bites! They don’t have to be perfect, mine are always a bit wonky, but that just adds to their homemade charm, right? I love seeing all the little pieces lined up, ready for their bath.
- Prepare the Pretzel Bath:
- While you’re shaping, get a large pot of water boiling. Once it’s at a rolling boil, add the baking soda. Be careful, it will foam up! This is the magical bath that gives pretzels their distinctive flavor and chewy exterior. Preheat your oven to 400°F (200°C) and line a baking sheet with parchment paper. I always forget to preheat, then I’m scrambling, so do it now!
- Boil and Bake:
- Carefully drop the pretzel bites, a few at a time, into the boiling baking soda water. Let them boil for about 20-30 seconds, then use a slotted spoon to transfer them to your prepared baking sheet. They’ll look a little puffy and slippery. Bake for 8-10 minutes, or until they’re golden brown and smell absolutely incredible. Once they’re out, brush them immediately with melted butter and sprinkle with coarse salt. They should be warm, chewy, and slightly salty pure bliss!
Honestly, the best part of making these 10 minute pretzel bites is when they come out of the oven, hot and smelling like a dream. There’s always a mad dash in my kitchen to grab the first one, usually followed by an “Ow, too hot!” and then an “Mmm, so good!” It’s messy, it’s chaotic, but it’s real. And that’s what home cooking is all about, isn’t it?
10 Minute Pretzel Bites Storage
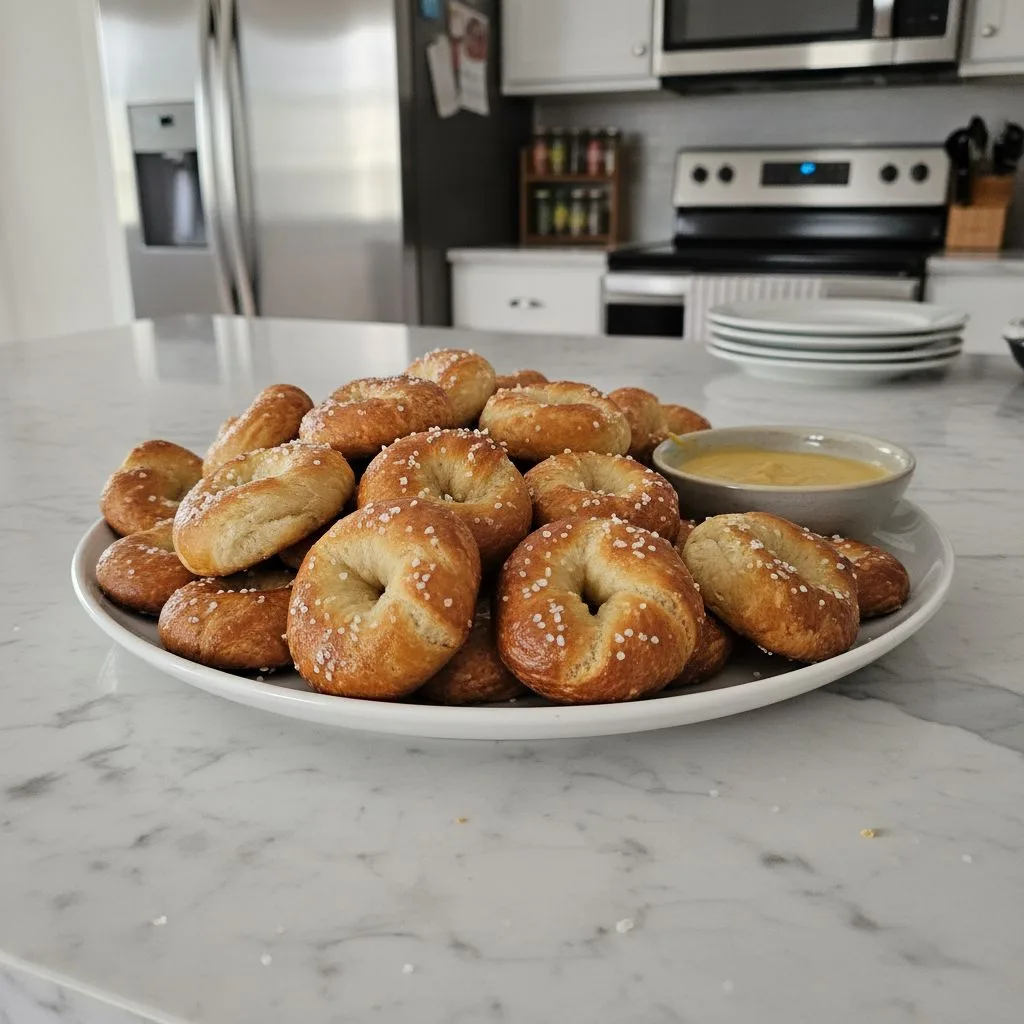
Okay, so these 10 minute pretzel bites are definitely at their absolute best fresh out of the oven. Like, if you can eat them all within the first hour, you’re winning. But, if you do have leftovers (which, let’s be real, is rare around here), you can store them in an airtight container at room temperature for a day or two. I microwaved them once to reheat, and honestly, they got a bit rubbery and lost some of that lovely chew so don’t do that lol. A quick warm-up in a toaster oven or even a dry skillet on low heat works much better for reviving them. They won’t be quite as soft as fresh, but still pretty tasty. If they get too stale, I sometimes chop them up and use them as croutons in soup!
Ingredient Substitutions for 10 Minute Pretzel Bites
I’ve played around with a few things when making these quick pretzel bites. For the flour, while I stick to all-purpose, I once tried a 50/50 mix with whole wheat flour to “be healthier” it worked, kinda. They were a bit denser and had a nuttier flavor, which some people loved, but it wasn’t the classic soft pretzel bite texture I craved. You could try using bread flour for an even chewier bite, but again, it might make the dough a little stiffer to work with quickly. As for the sugar, you could swap it for honey or maple syrup if you prefer, just use a tiny bit. I haven’t messed with the yeast or baking soda, those feel pretty non-negotiable for this recipe’s success. For the butter, olive oil could work for brushing, but you’d lose that rich, buttery flavor.
Pairing Your 10 Minute Pretzel Bites
These 10 minute pretzel bites are just begging for dips, honestly! My absolute favorite pairing is a warm, gooey cheddar cheese sauce it’s just classic. But don’t stop there! A spicy mustard or a sweet honey mustard also hits different, depending on my mood. For a fun twist, I’ve served them with a creamy spinach dip at a party, and they disappeared in minutes. If you’re making them for a cozy night in, pair them with a good craft beer (for the grown-ups, of course!) or a sparkling apple cider. And a rom-com? Yes please! They’re also surprisingly good with a simple marinara sauce, almost like a savory doughnut. So many possibilities, it just depends on what kind of snack vibe you’re going for.
The Story Behind 10 Minute Pretzel Bites
Pretzels themselves have a long, fascinating history, often tied to ancient monastic traditions and prayers. But these quick 10 minute pretzel bites? Their origin story is purely modern-day frantic craving! It’s about taking the essence of a beloved classic that chewy, salty, warm goodness and making it accessible on a Tuesday afternoon when you just can’t wait. For me, it became special because it proved that even when life feels chaotic and time is short, you can still whip up something incredibly satisfying and comforting from scratch. It’s a testament to the fact that good food doesn’t always need hours of effort, sometimes, a little ingenuity and a lot of passion can bring delicious results, fast. This recipe feels like my personal kitchen hack for instant joy.
So there you have it, my little secret for instant gratification in the kitchen. These 10 minute pretzel bites are more than just a snack, they’re a reminder that sometimes the simplest things bring the most joy. They never fail to put a smile on everyone’s face, including mine, even after a chaotic day. I hope you give them a whirl and find as much comfort and deliciousness in them as I do. Don’t forget to tell me how your batch turns out!
Frequently Asked Questions About 10 Minute Pretzel Bites
- → Can I make these 10 minute pretzel bites ahead of time?
Honestly, they’re best fresh, but you can prep the dough up to the shaping stage and refrigerate it for a few hours. Just let it come to room temperature for 15-20 minutes before shaping and boiling. I’ve done this for parties, and it works pretty well!
- → What if my yeast doesn’t foam up for these quick pretzel bites?
If your yeast doesn’t get bubbly and foamy, it’s probably dead, bless its heart. Don’t proceed with that batch, or your pretzel bites won’t rise. Grab new yeast, make sure your water is warm (not hot!), and try again. I’ve learned this the hard way!
- → Can I bake these 10 minute pretzel bites without the baking soda bath?
You can, but they won’t have that classic chewy texture or deep brown color. They’ll taste more like plain breadsticks, which isn’t bad, but it’s not the true pretzel experience. The bath is quick and totally worth it for these 10 minute pretzel bites!
- → How do I store leftover pretzel bites to keep them soft?
To keep them soft, store leftover 10 minute pretzel bites in an airtight container at room temperature. For reheating, a quick warm-up in a toaster oven or even a dry skillet on low heat works better than the microwave, which can make them rubbery.
- → Can I add cheese or other flavors to the dough for these 10 minute pretzel bites?
Absolutely! I’ve sometimes kneaded in a bit of shredded cheddar or some dried garlic and onion powder. It adds a fun twist! Just don’t go overboard, or it might affect the dough’s texture. Experiment and see what you like!
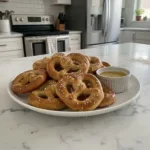
Quick 10 Minute Pretzel Bites: Warm, Chewy & Fast
- Prep Time: 10 Minutes
- Cook Time: 10 Minutes
- Total Time: 20 Minutes
- Yield: 4 Servings 1x
- Category: Desserts
Description
10 Minute Pretzel Bites: Warm, chewy, and ready fast! Make your own easy snack in minutes with simple ingredients. Perfect for cravings or quick gatherings.
Ingredients
- Dough Essentials:
- 1 ½ cups (180g) all-purpose flour, plus more for dusting
- ¾ cup (180ml) warm water (105-115°F / 40-46°C)
- 1 tsp granulated sugar
- 1 tsp active dry yeast
- ½ tsp kosher salt
- Pretzel Bath Magic:
- 6 cups (1.4L) water
- ¼ cup (60g) baking soda
- Finishing Touches:
- 2 tbsp (28g) unsalted butter, melted
- 1–2 tbsp coarse pretzel salt, for sprinkling
- Dipping Delights (Optional):
- Warm cheese sauce
- Honey mustard
- Spicy brown mustard
Instructions
- Activate the Yeast:: First up, grab a medium bowl. Pour in your warm water and sprinkle in the sugar and yeast. Give it a gentle stir. Now, just let it hang out for about 5 minutes. You’re looking for a foamy, bubbly top—that means your yeast is alive and ready to make some magic! If it’s not bubbling, your yeast might be expired, or your water was too hot or too cold. I’ve made this mistake, and it’s a total bummer when your dough doesn’t rise, so check that yeast!
- Mix the Dough:: Once your yeast is happy and bubbly, stir in the kosher salt. Then, gradually add the flour, about half a cup at a time, mixing with a wooden spoon or spatula. Keep adding until a shaggy dough forms. I usually end up with a bit of a sticky mess at first, which is totally fine! Just keep mixing until it starts to pull away from the sides of the bowl. Don’t overmix here; we’re going for quick and easy, not a full-on bread-making marathon.
- Knead Briefly:: Turn the dough out onto a lightly floured surface. Now, give it a quick knead for just 2-3 minutes. You want it to become smooth and elastic, but honestly, this isn’t a vigorous workout. I just push it away, fold it back, and turn it. It should feel soft and pliable. This short knead is just enough to develop a bit of gluten without dedicating an hour to it. I love how it transforms from sticky to smooth in such a short time!
- Shape Your Pretzel Bites:: Divide the dough into two equal pieces. Roll each piece into a long rope, about 1/2-inch thick. Now, using a sharp knife or a bench scraper, cut each rope into 1-inch pieces. These are your little pretzel bites! They don’t have to be perfect; mine are always a bit wonky, but that just adds to their homemade charm, right? I love seeing all the little pieces lined up, ready for their bath.
- Prepare the Pretzel Bath:: While you’re shaping, get a large pot of water boiling. Once it’s at a rolling boil, add the baking soda. Be careful, it will foam up! This is the magical bath that gives pretzels their distinctive flavor and chewy exterior. Preheat your oven to 400°F (200°C) and line a baking sheet with parchment paper. I always forget to preheat, then I’m scrambling, so do it now!
- Boil and Bake:: Carefully drop the pretzel bites, a few at a time, into the boiling baking soda water. Let them boil for about 20-30 seconds, then use a slotted spoon to transfer them to your prepared baking sheet. They’ll look a little puffy and slippery. Bake for 8-10 minutes, or until they’re golden brown and smell absolutely incredible. Once they’re out, brush them immediately with melted butter and sprinkle with coarse salt. They should be warm, chewy, and slightly salty—pure bliss!

